Heap
Through a simple integration, you will be able to send your Heap data into Toplyne to enable you to identify free users that are likely to pay you and help you expand your current paying users. Follow our step-by-step integration guide to find the needle in your haystack!
1. Confirm Requirements
You will require a Heap account with the Heap Connect feature activatedto connect your Heap with Snowflake.
You can learn more about requesting this feature here.
Don’t know if you have Heap Connect?
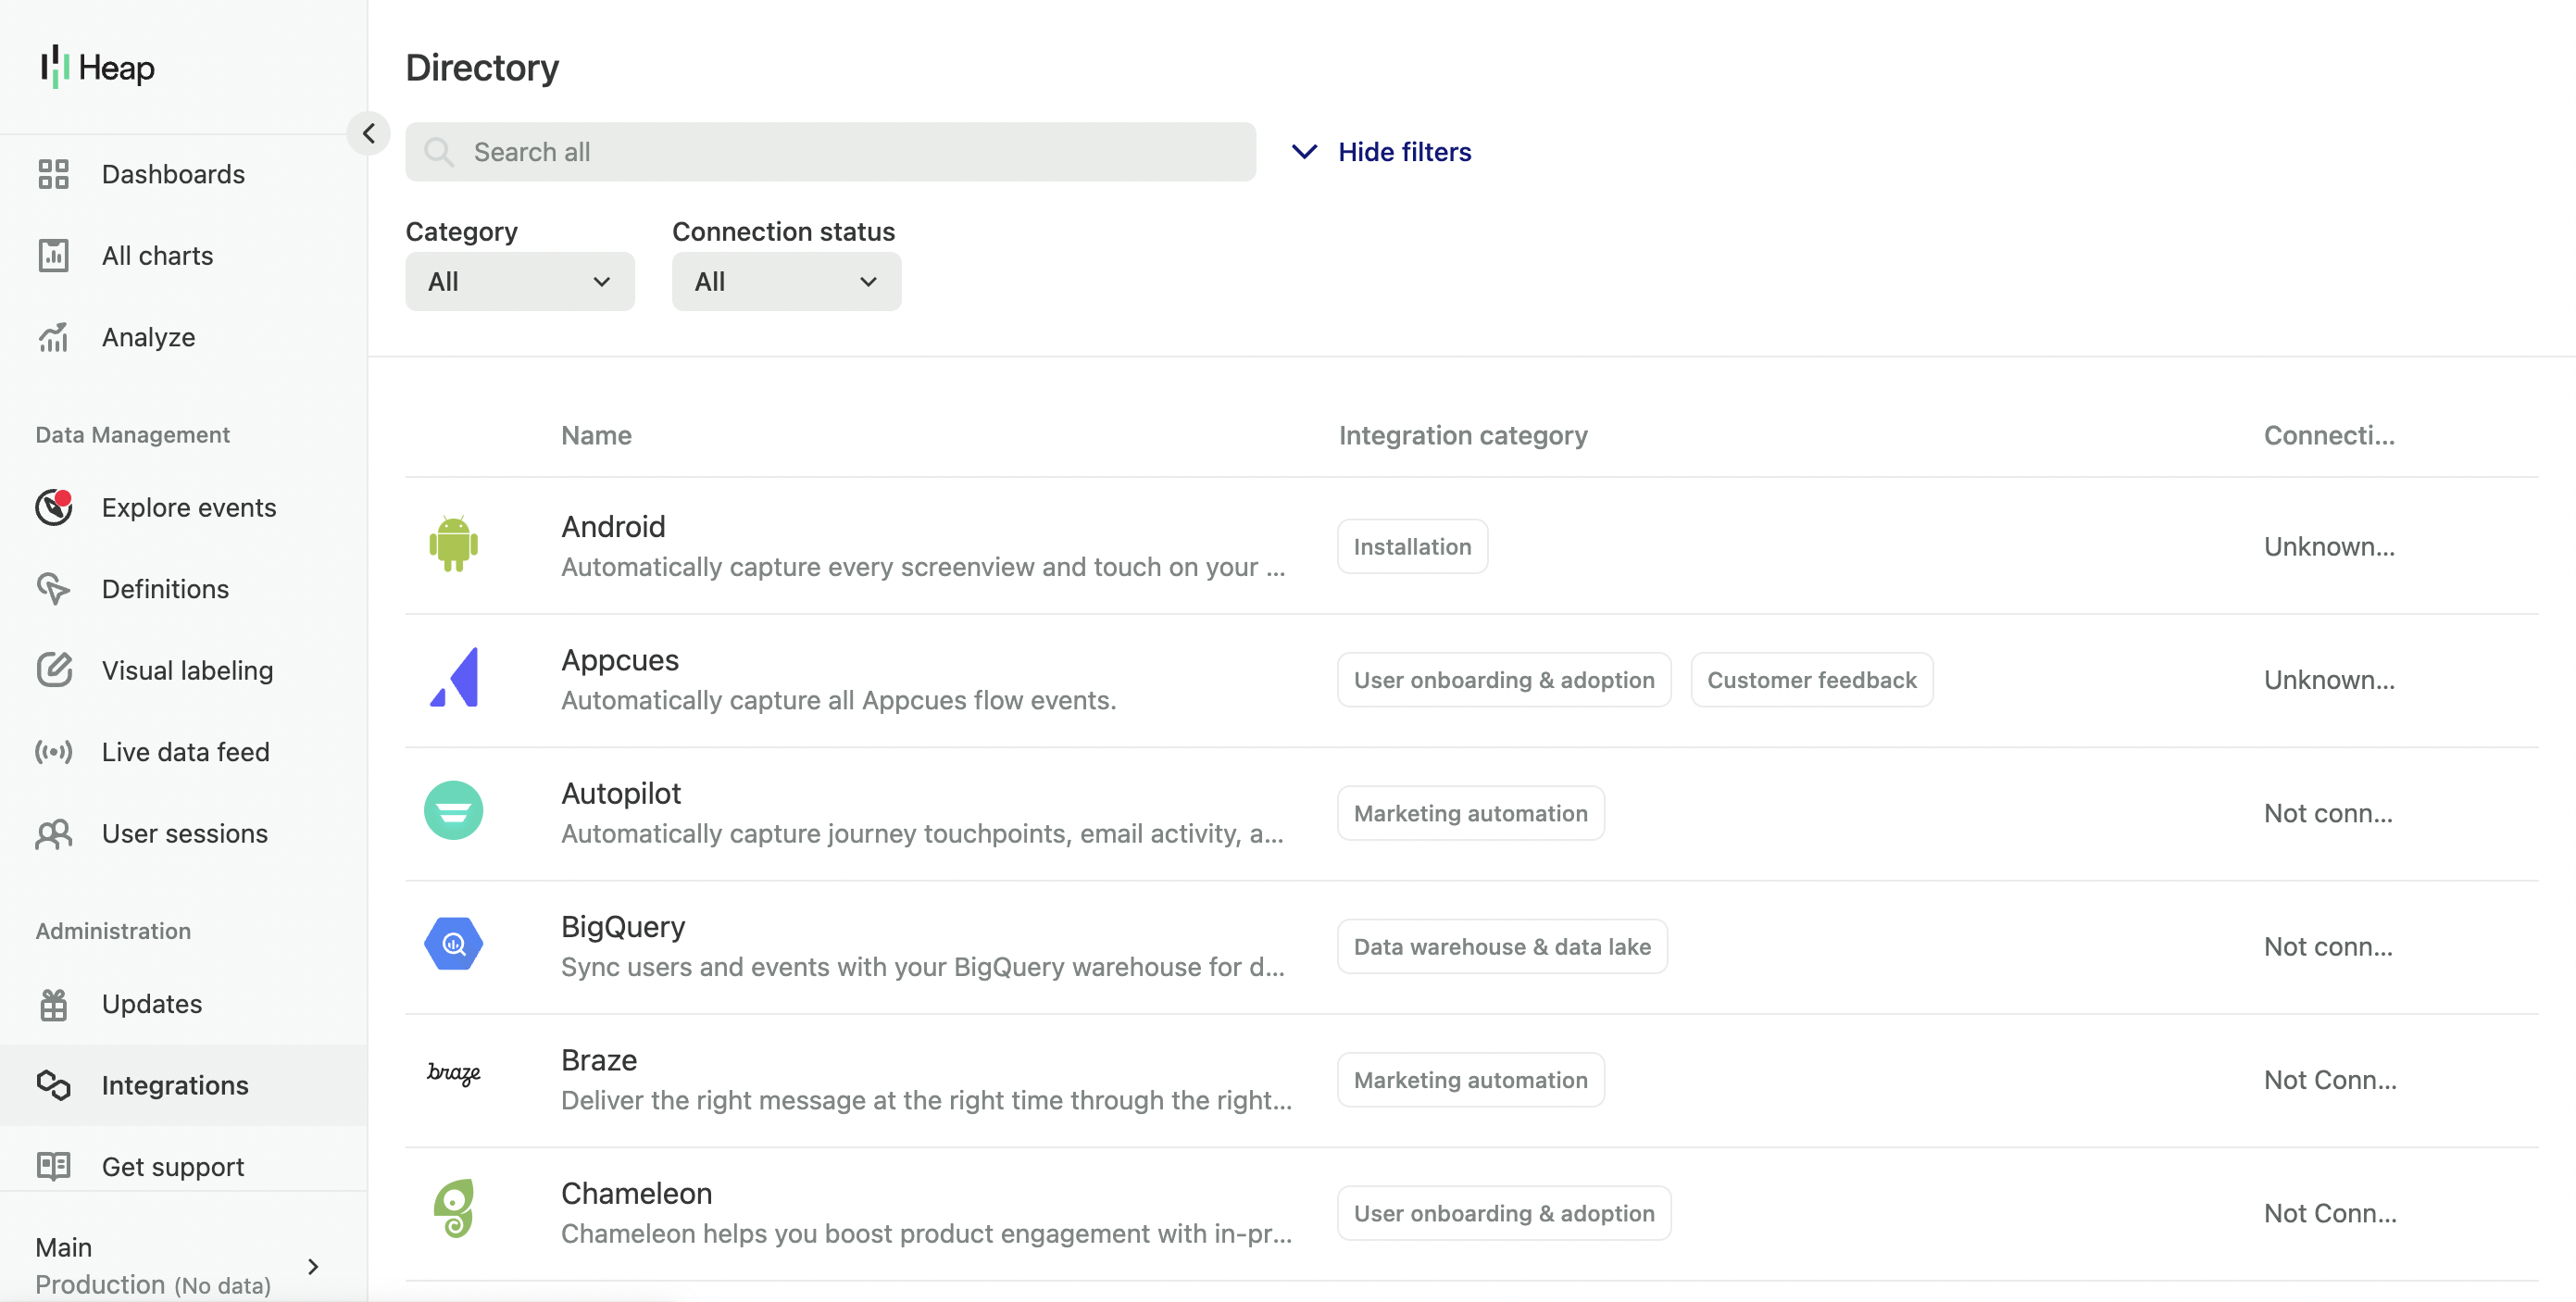
- If your screen when you click on Integrations in Heap looks like this, then you don’t have Heap Connect or have never used it before. You can learn more about activating it here.
If you already have Heap Connect, you can share the data with the Toplyne warehouse.
- If you already are using Heap currently connect to send data into a warehouse such as Bigquery, S3 or Snowflake, we'd strongly recommend setting up shares into Toplyne via those warehouses directly instead of purchasing an additional Heap Connect.
2. Navigate to the Integrations section
Login to Heap and navigate to the Integrations section from the Home page.
3. Add a Snowflake connection to your integration list
Search for Snowflake in the list of available integrations. Click on the selection to show the Snowflake connection popup.
4. Setting up the Snowflake integration
In the hostname section of the popup, insert the following text :
<https://jfa01628.us-east-1.snowflakecomputing.com>
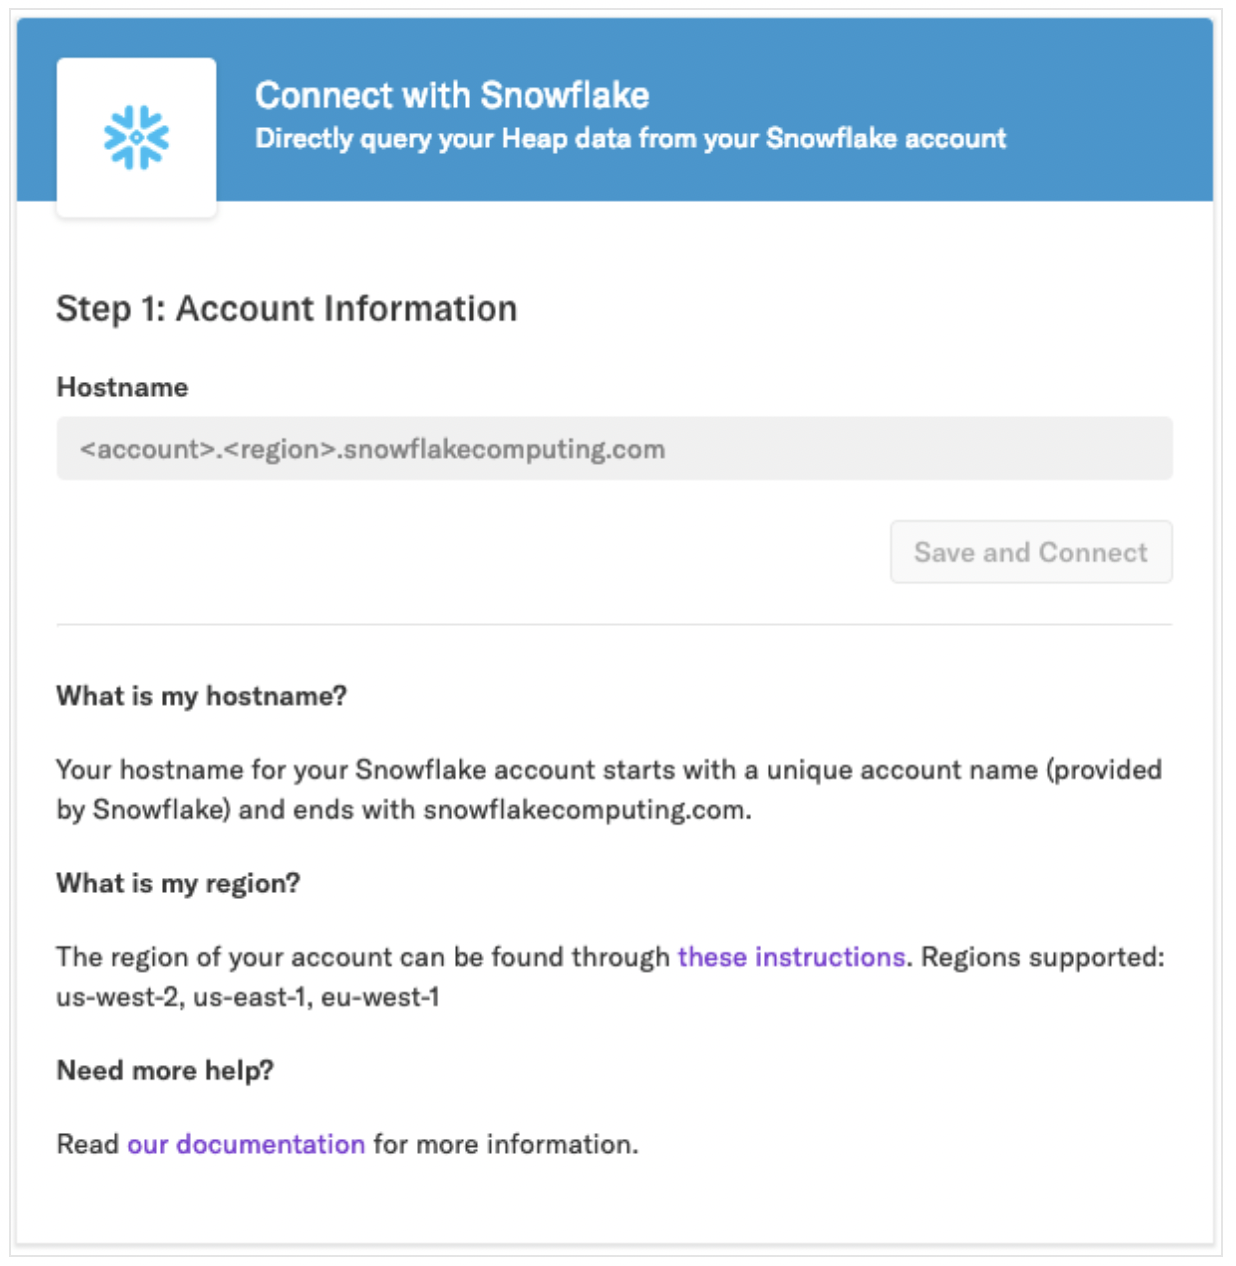
Then click Save and Connect.
5. Select the tables you wish to share
You can choose to drop tables you don't wish to share by switching off the toggle.
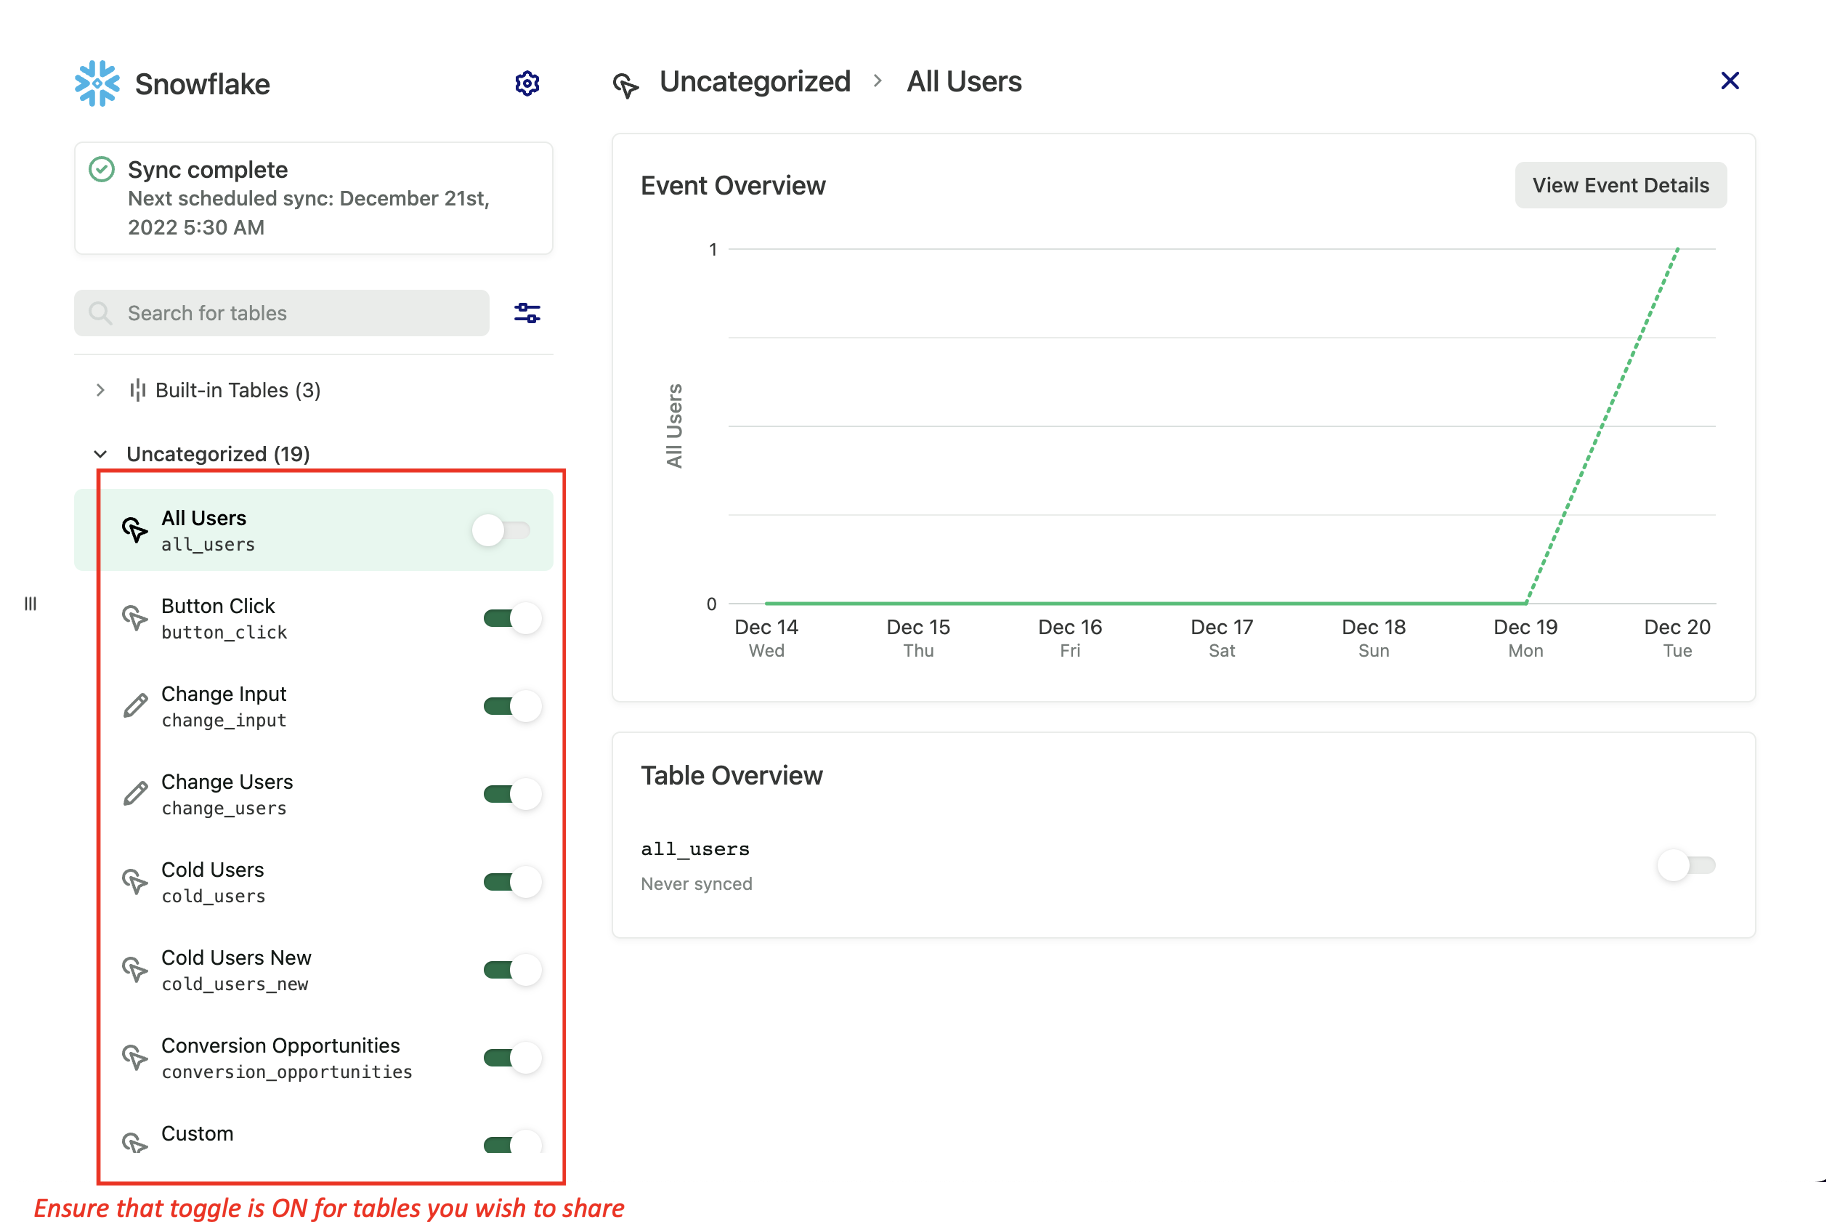
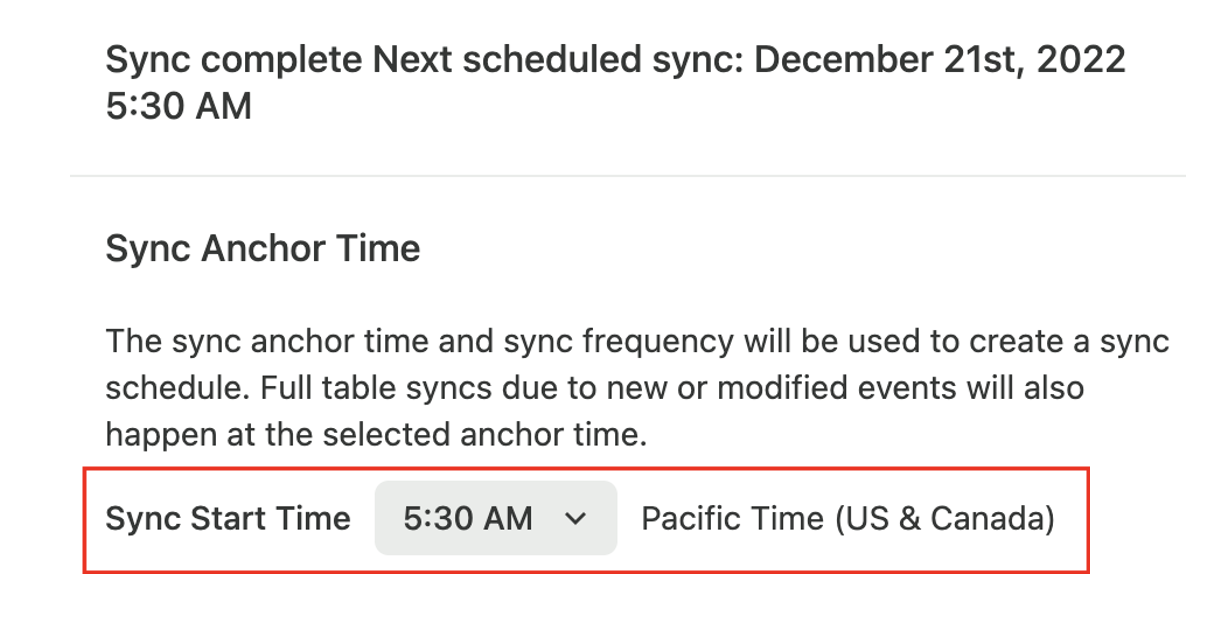
6. Choose your sync time
From the Snowflake connector settings, choose a convenient time to share the data with Toplyne. We encourage you to choose one so that the next scheduled sync is at the earliest.
And you are done!
Updated over 1 year ago