Toplyne's Shopify Pixel
Use the following steps to add Toplyne's custom Shopify pixel to your website
-
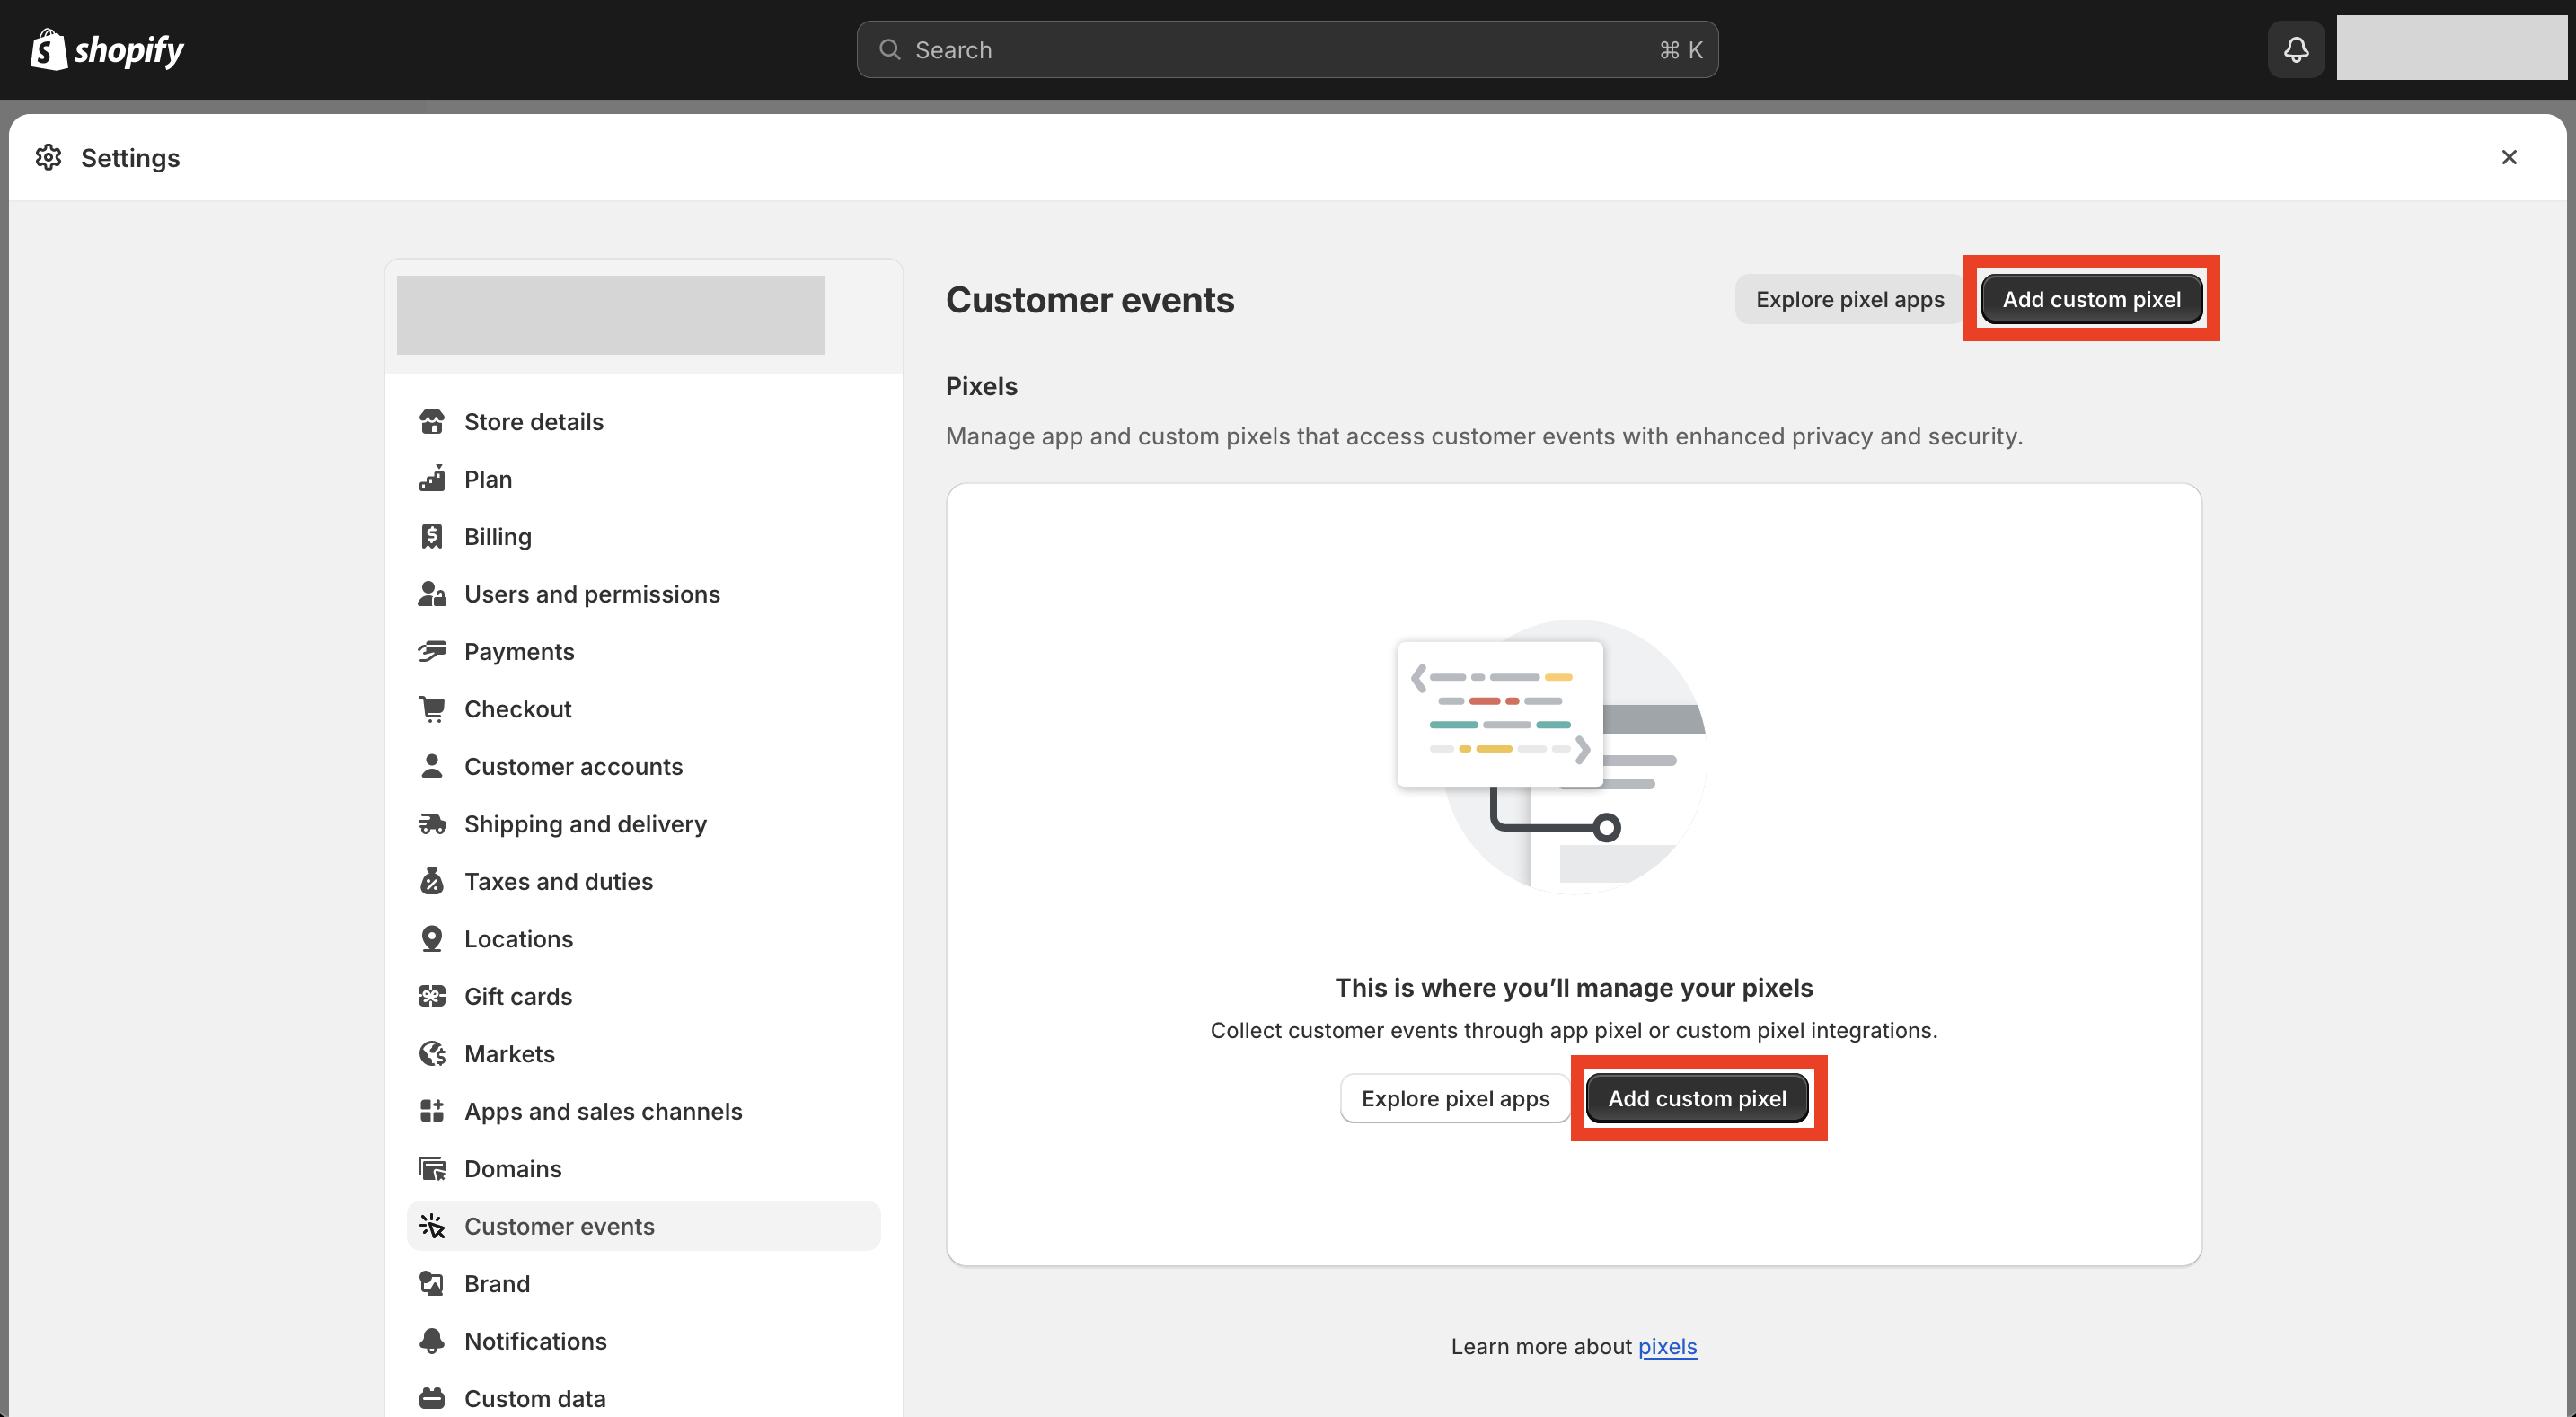
Go into "Settings" in Shopify admin. In the left navigation go into Customer events

-
Click on the "Add custom pixel" button
-
Enter a pixel name, ex: Toplyne Pixel

-
Paste the code snippet generated in Toplyne dashboard or given to you by our CSM and click on save.
!function(e,t,l,n){e.tl=e.tl||function(...t){(e.tl.queue=e.tl.queue||[]).push(t)};let s=t.createElement(l);s.src=n;let o=t.getElementsByTagName(l)[0];o.parentNode.insertBefore(s,o)}(window,document,"script","https://toplyne-sdk.toplyne.io/shopify.js");

tl('init', browser, init, '<API_TOKEN>');
analytics.subscribe("all_events", event => tl('track', event, browser, init));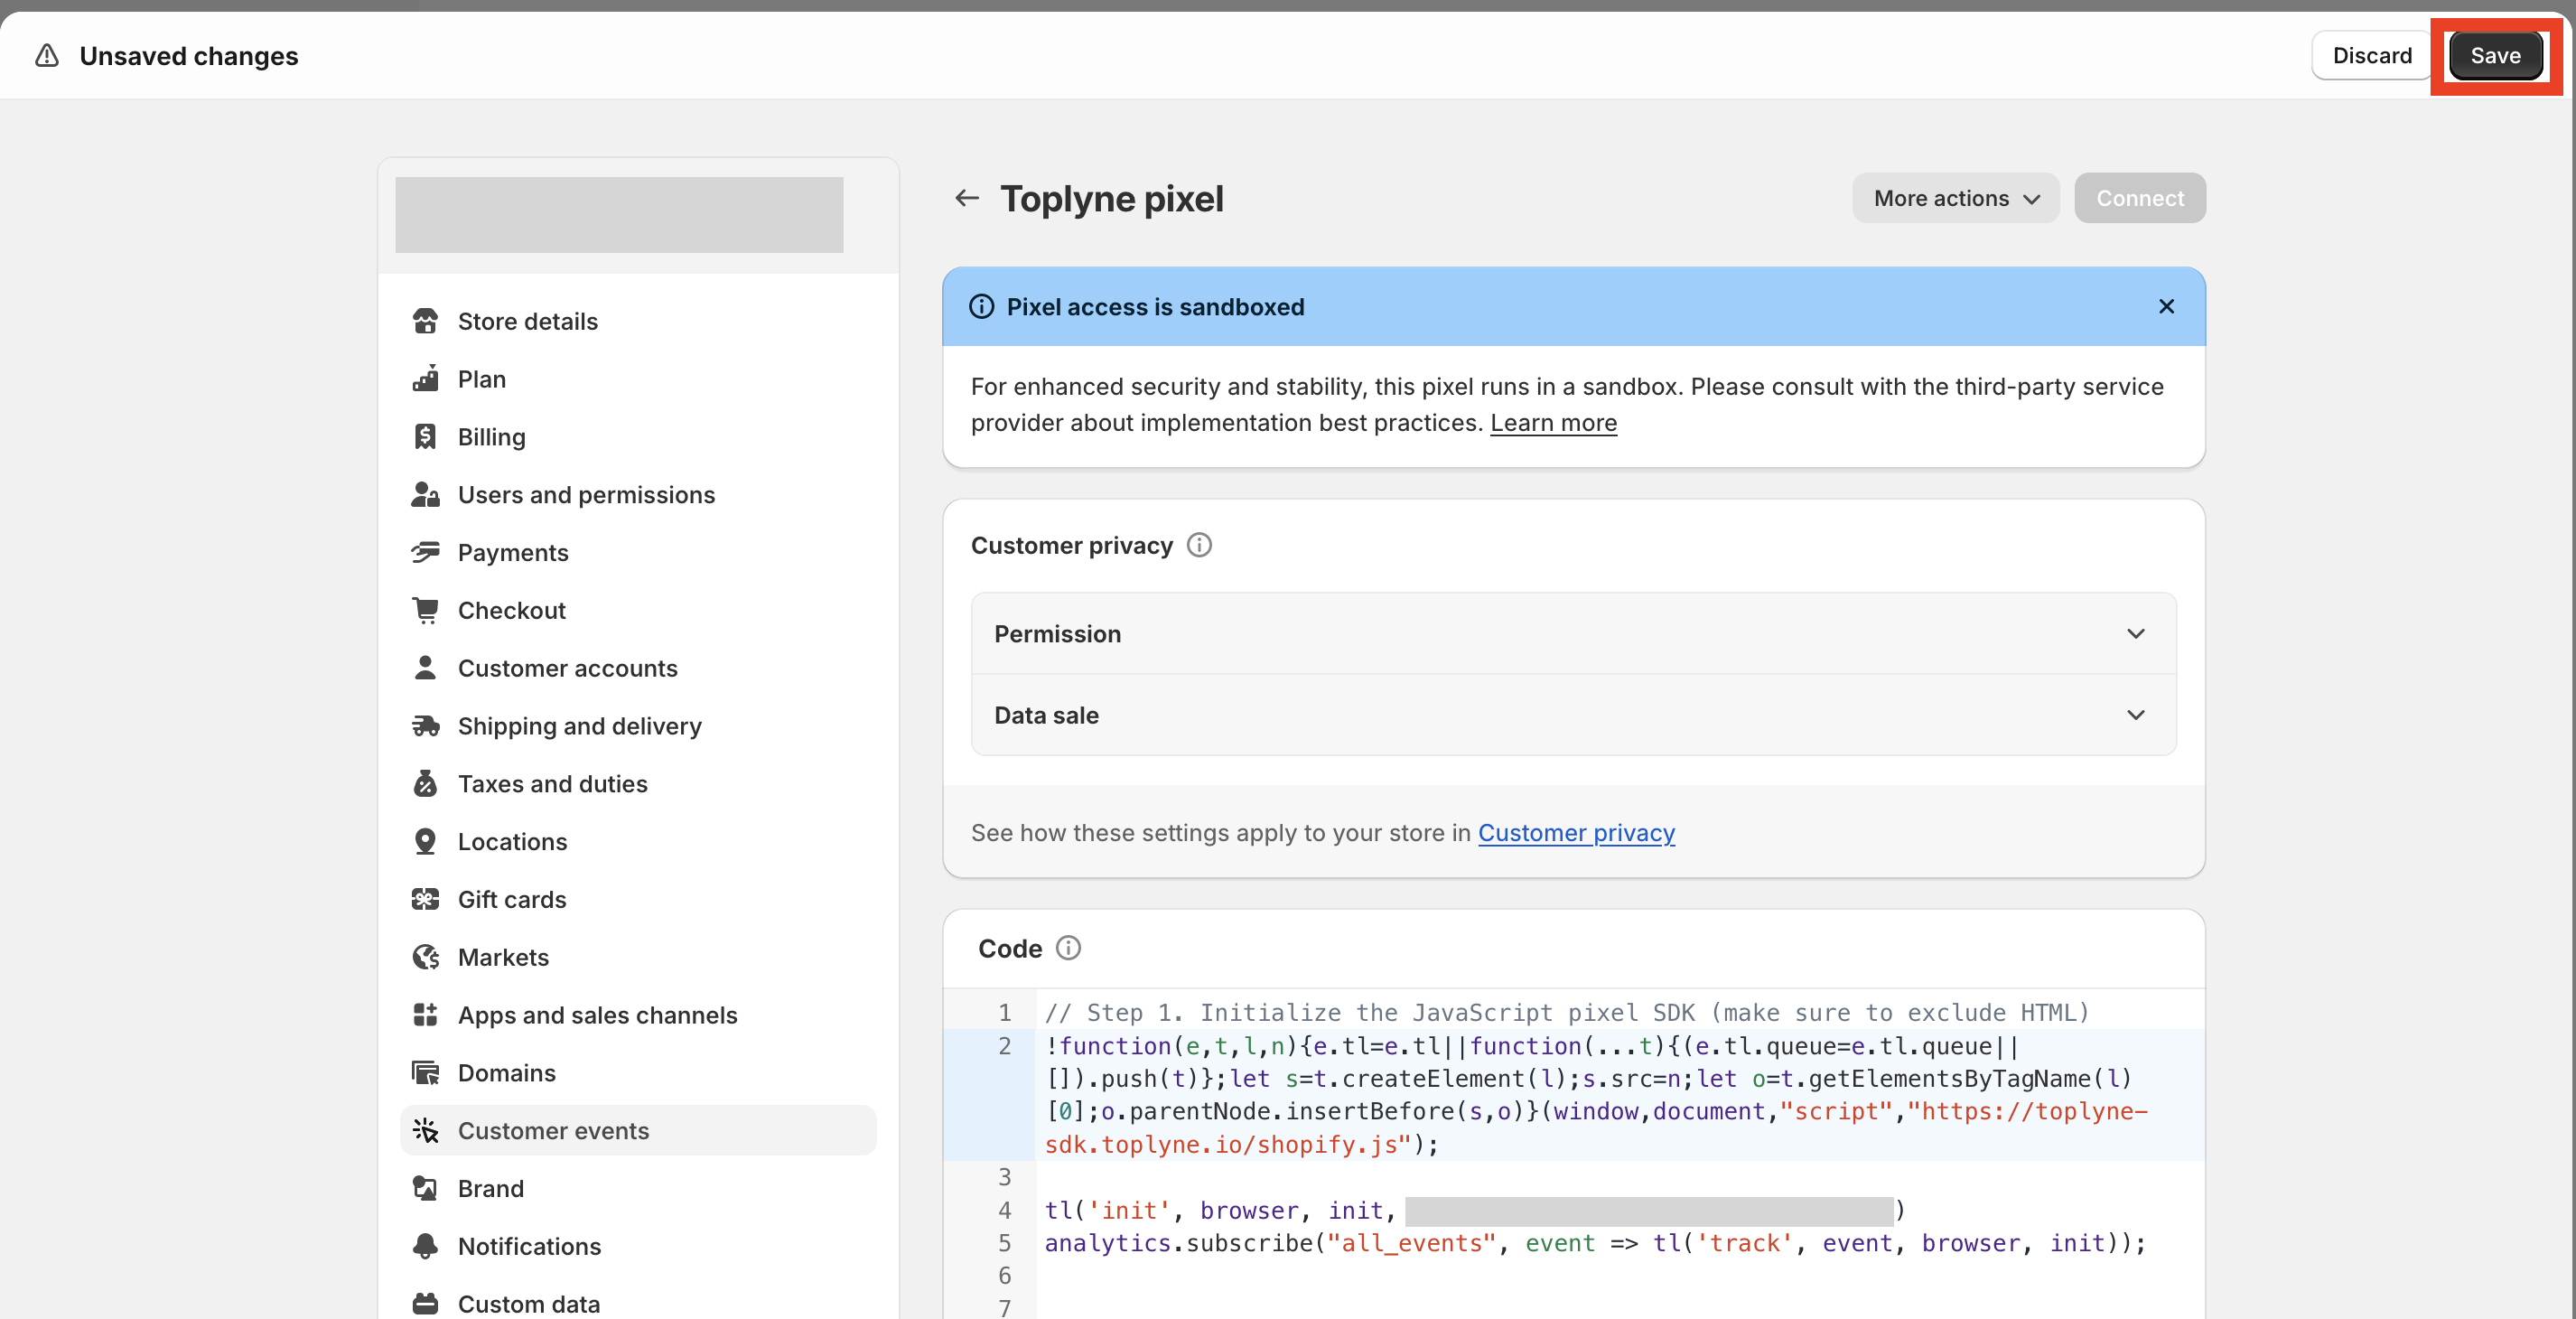
-
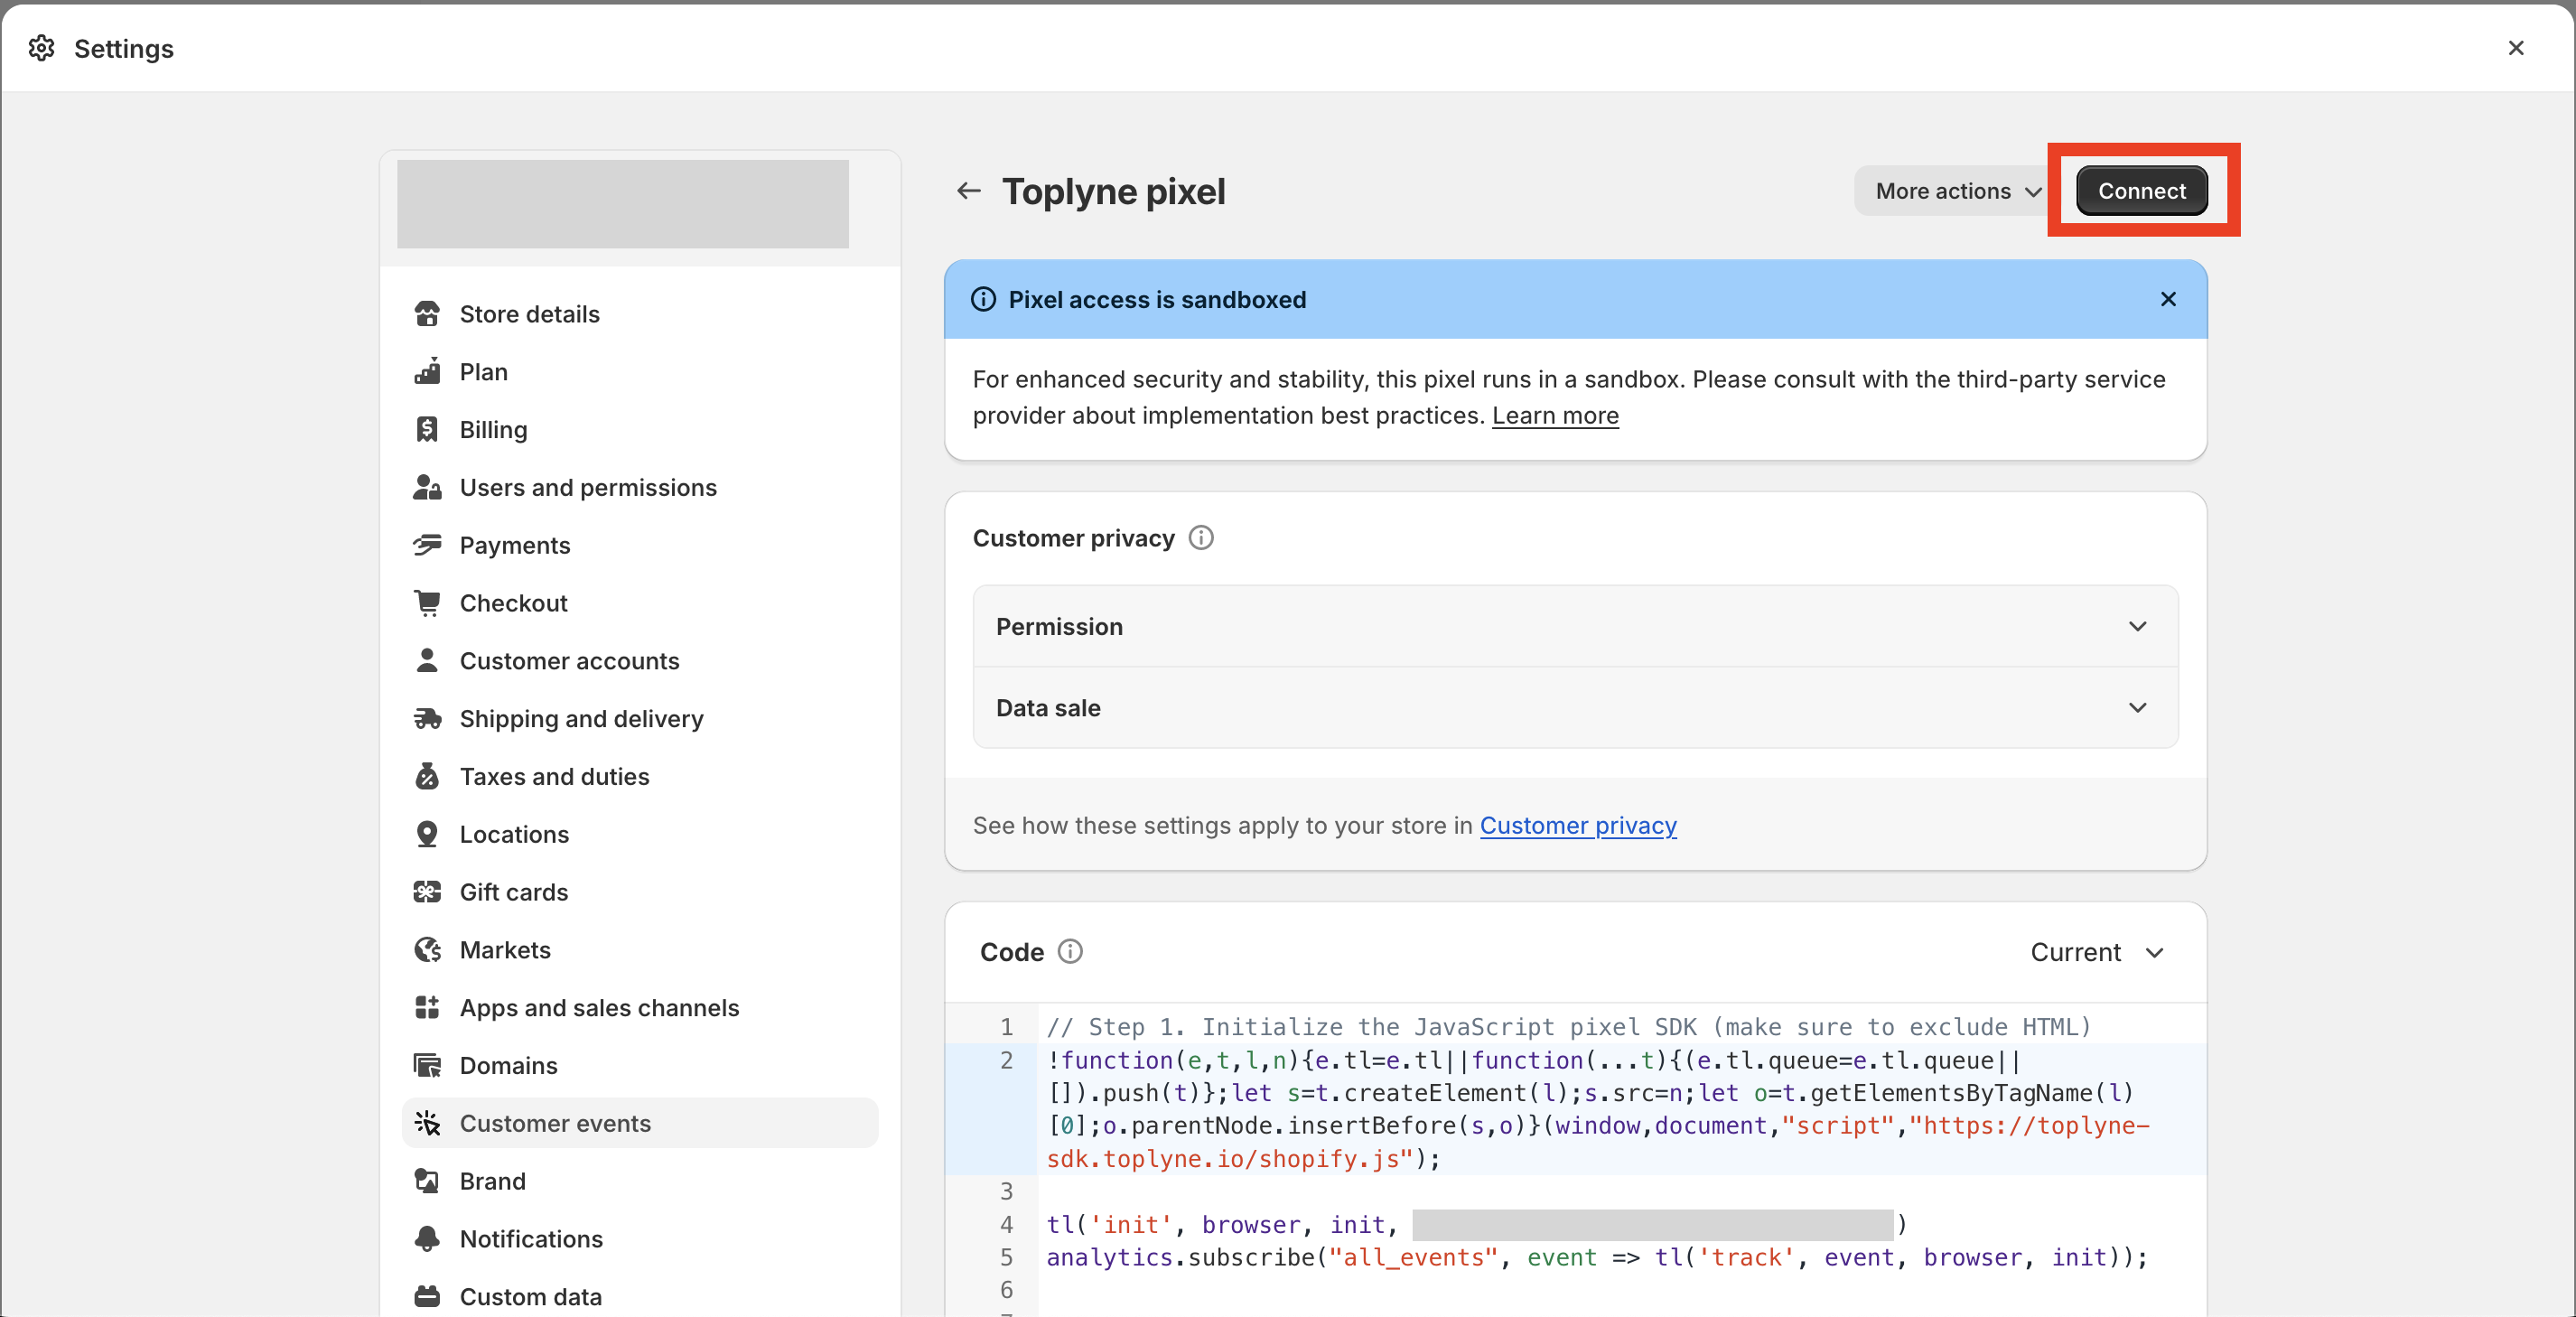
Click on connect and in the modal asking for confirmation click on connect
-
In the customer events section, the custom pixel created should be visible with status "connected"

Close
Updated 4 months ago