Drip
Through a simple integration, you will be able to use Toplyne segmentation to better target email campaigns on Drip to convert promising leads, motivate your champions to purchase more, and re-engage with users at risk of churning. Follow our step-by-step integration guide to get started!
Setting up Drip as a destination 🔩
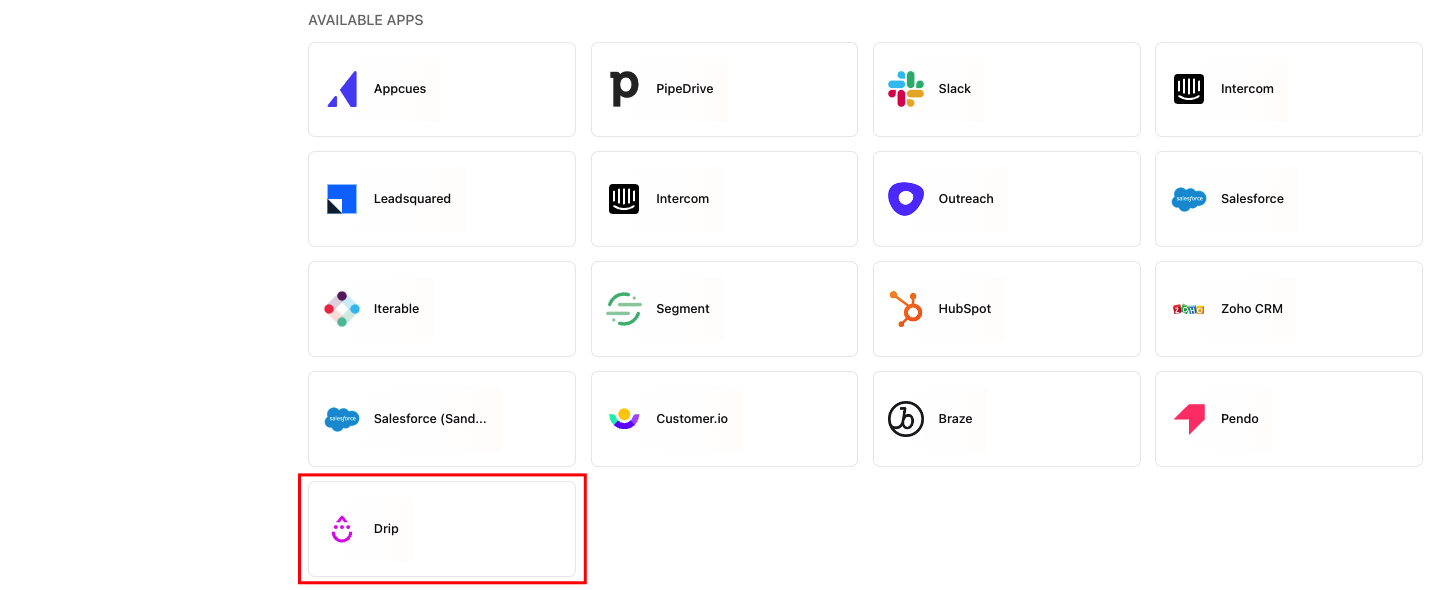
- Select Integrations from the left pane. Search for Drip and select it from the list of destinations.
- On the Drip integration page, name your integration.
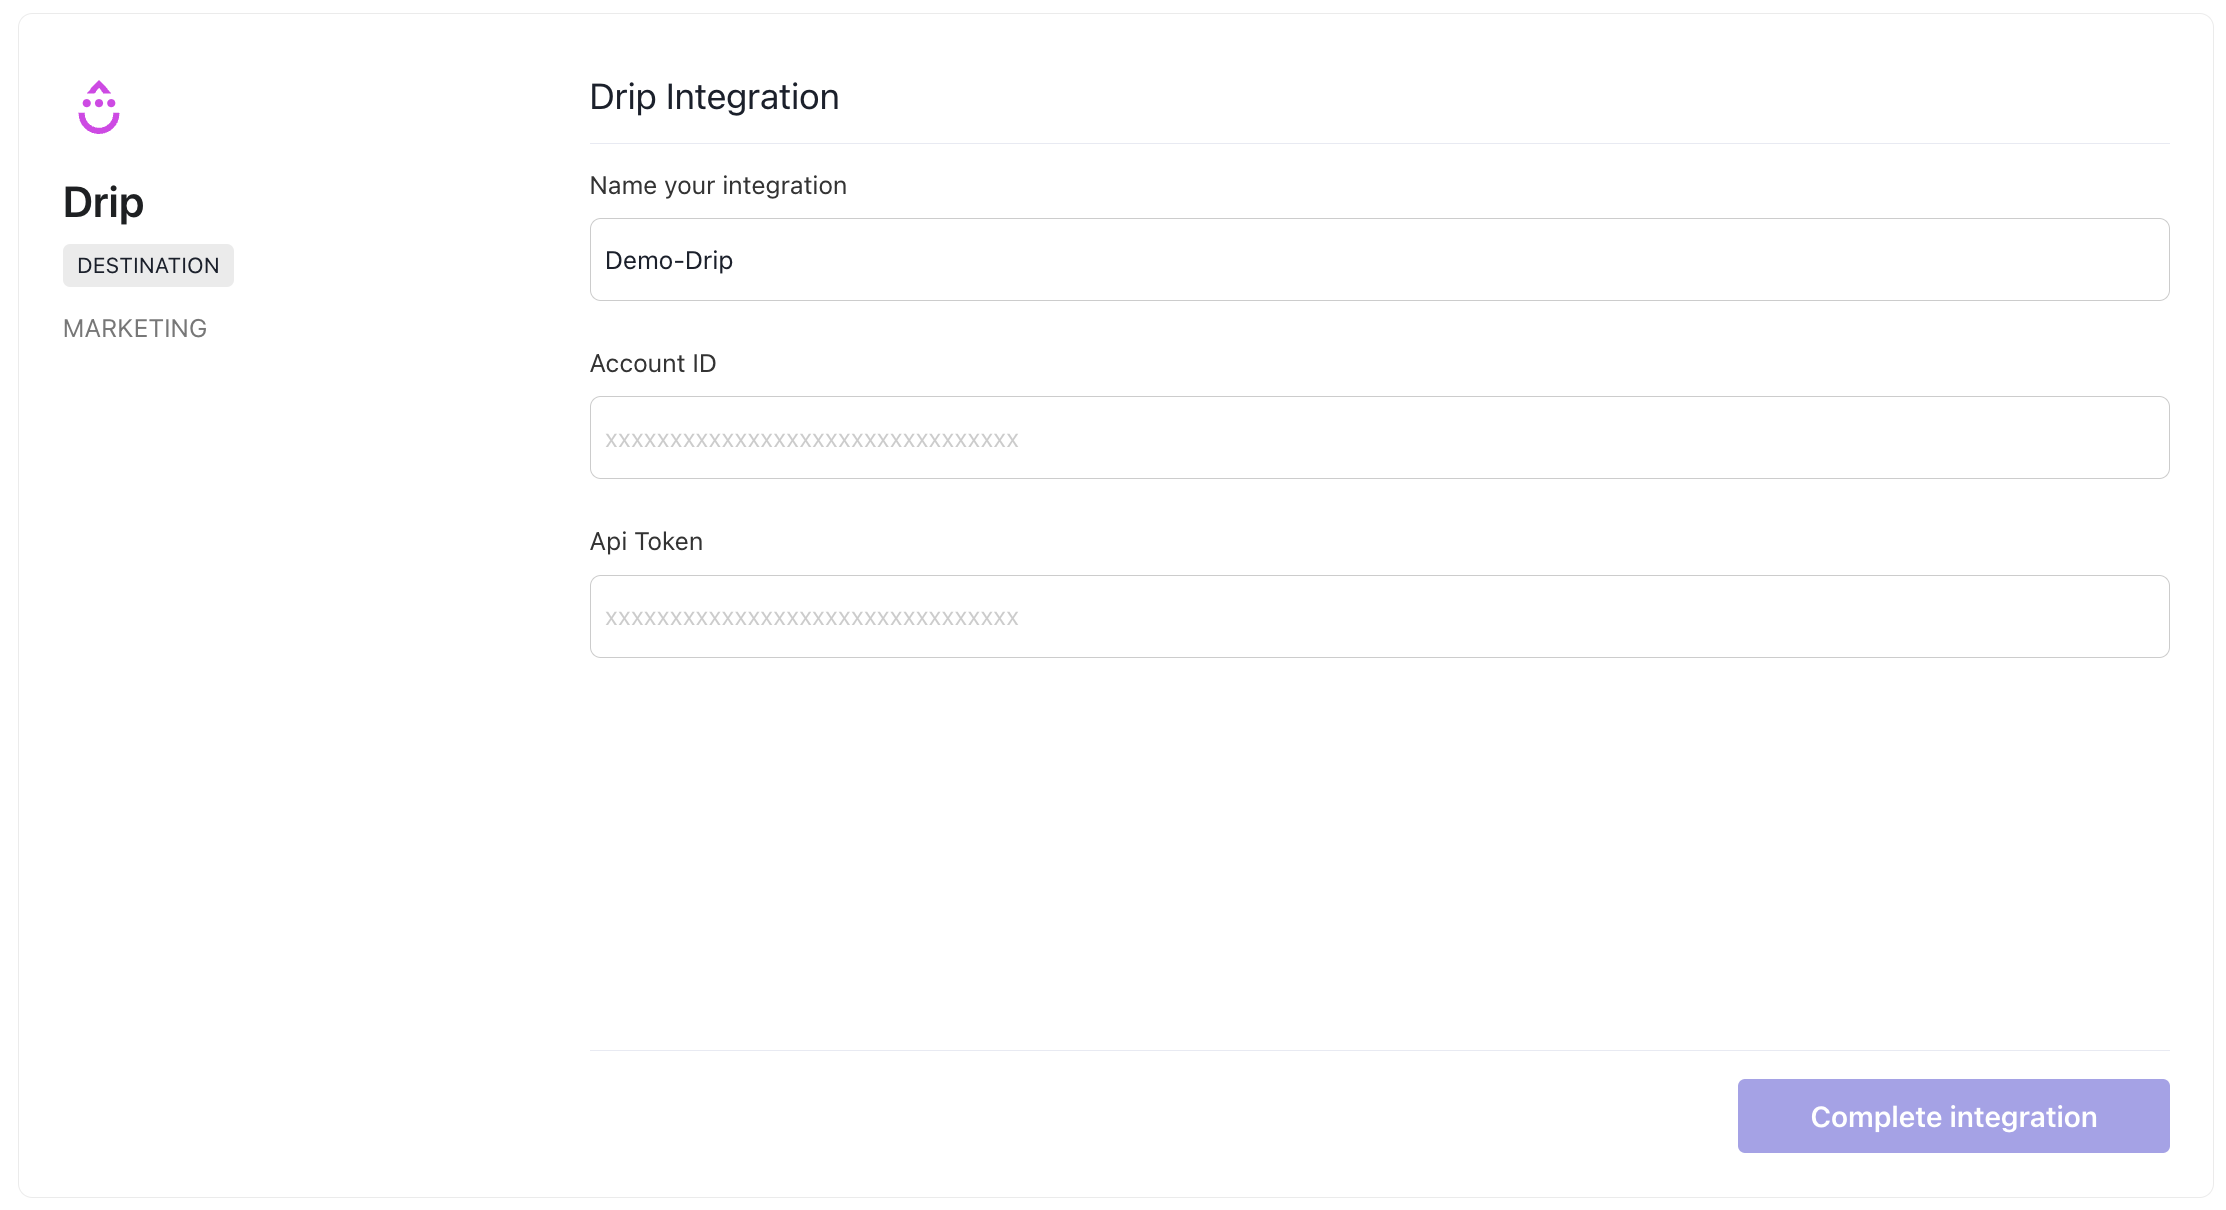
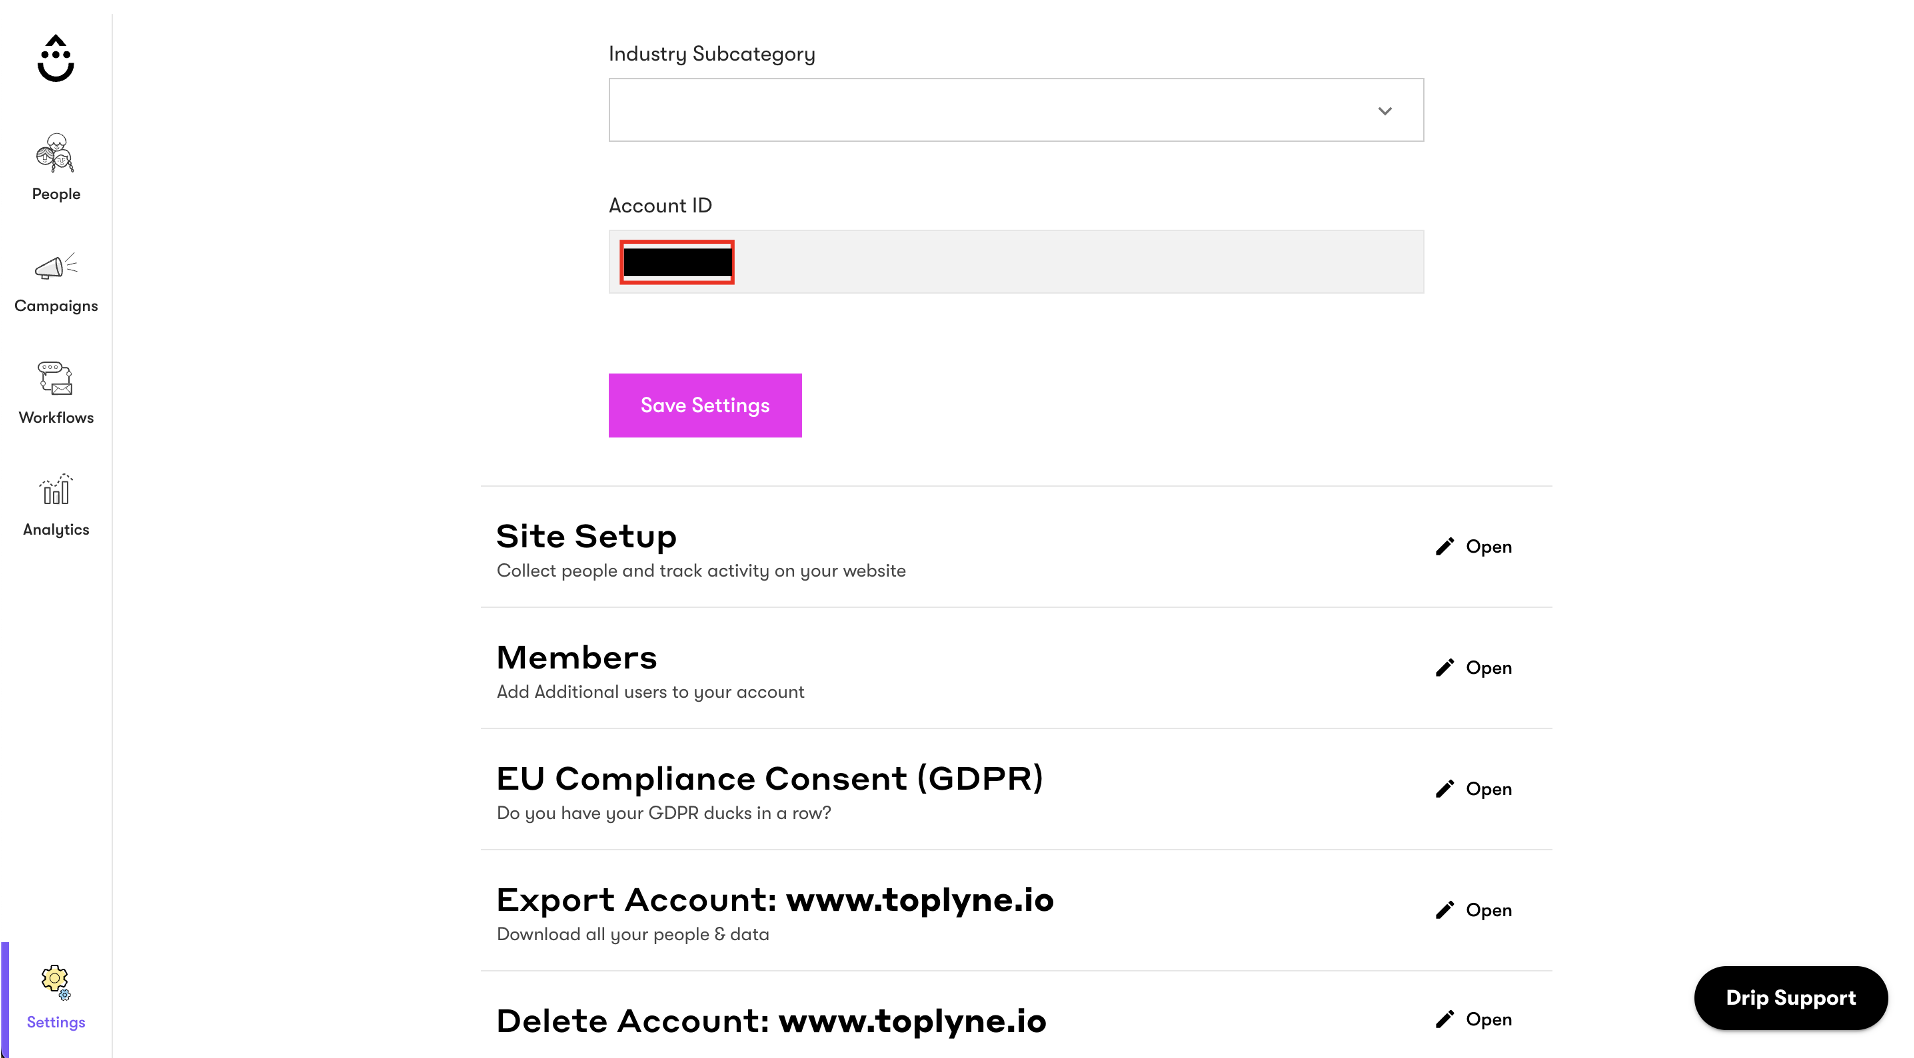
- Filling additional information - a Drip detour. Navigate to Drip Dashboard > Settings > Account. Copy the Account ID displayed.
- Navigate to Drip Dashboard > Settings > User Settings. Copy the API token.

- Input the fields you copied on the Toplyne integration page. Click Complete Integration, and you're done!
Using Drip as a destination 🔀
Creating Custom Fields on Drip
You must create custom fields on Drip to be able to send data points from Toplyne. You can do so by navigating to your Drip Dashboard > People > Custom fields. Click the + icon and name your custom field.
Note that there aren't any spaces or capital letters in the field. For example, toplyne_conversion_score is allowed, but not Toplyne Conversion Score.
Timestamp columns on Drip
Drip classifies all of its columns as string. As a consequence, Toplyne would not allow you to sync timestamp fields into Drip columns by default.
As a workaround, you can inform Toplyne which field you wish to sync timestamps into. We will change the field type from our backend so that you can sync fields such as User Creation Time, Toplyne Updated At etc.
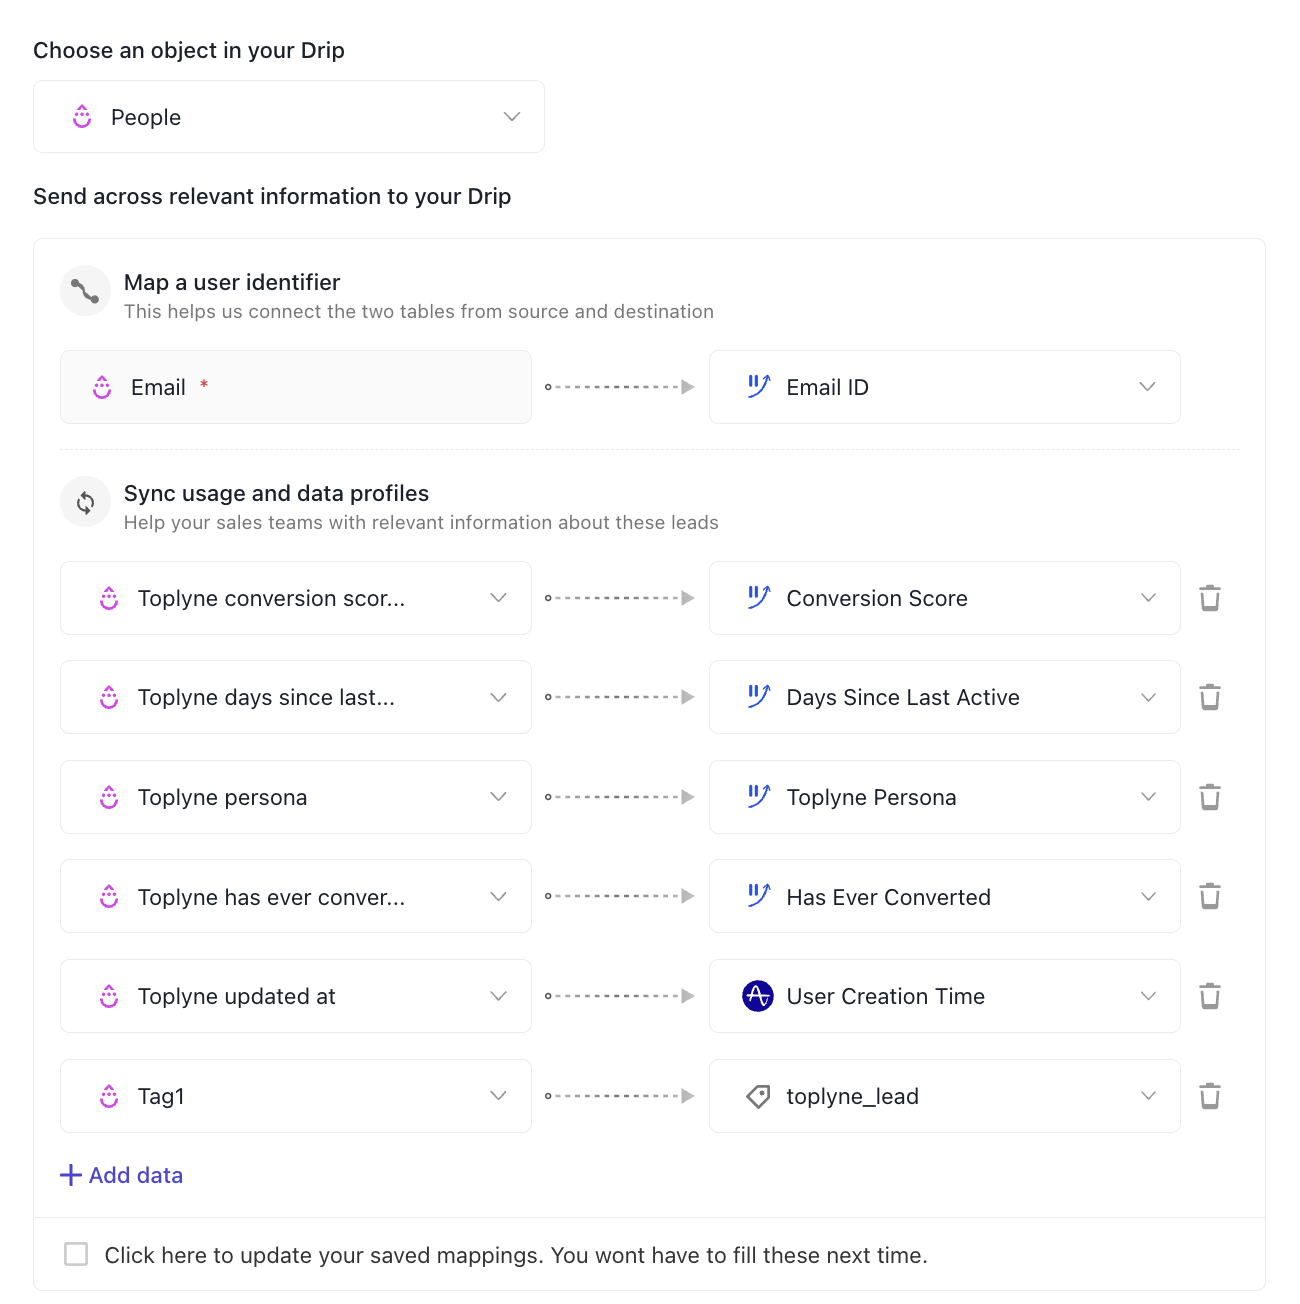
- Select the destination you just created in the export section.

- Currently, we support updating fields and adding tags on the People object on Drip. Select the email ID on the Toplyne fields to map the email identifier field.
- You can also choose extra information to pass to Drip. Generally, our customers export the Toplyne Score and the fields they want to segment. You can add tags to a lead using Tag1, Tag2, etc. fields. Existing fields will be overwritten.
- Name your pipeline and finish the setup. You should have the leads updated once your playbook runs!
Updated 11 months ago