Amplitude
Prerequisites
- To connect to Amplitude, you need to be in an admin role on Amplitude.
Step-by-step guide
There is a two-step process to ingest from Amplitude to Toplyne. You would need to create two connectors, one for live sync (send data from the time of integration) and historical sync (send data that has already been captured in the past).
Live Sync
- Log in to Amplitude.
- Ensure that you have selected the right project. Usually, it is named as
productionormain.
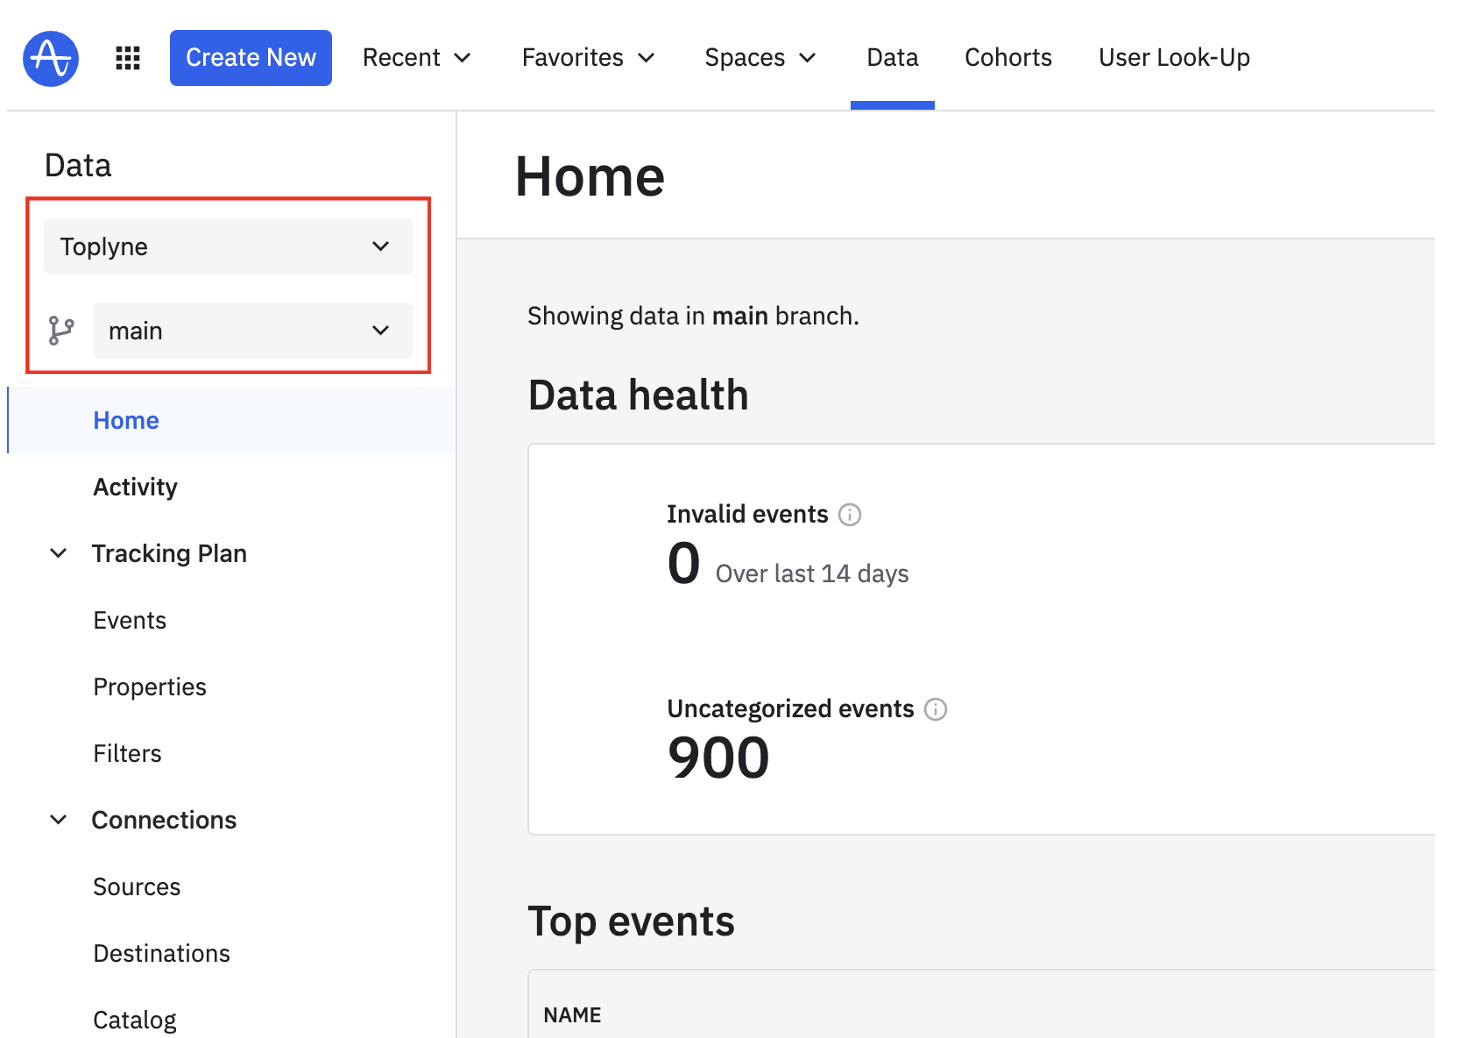
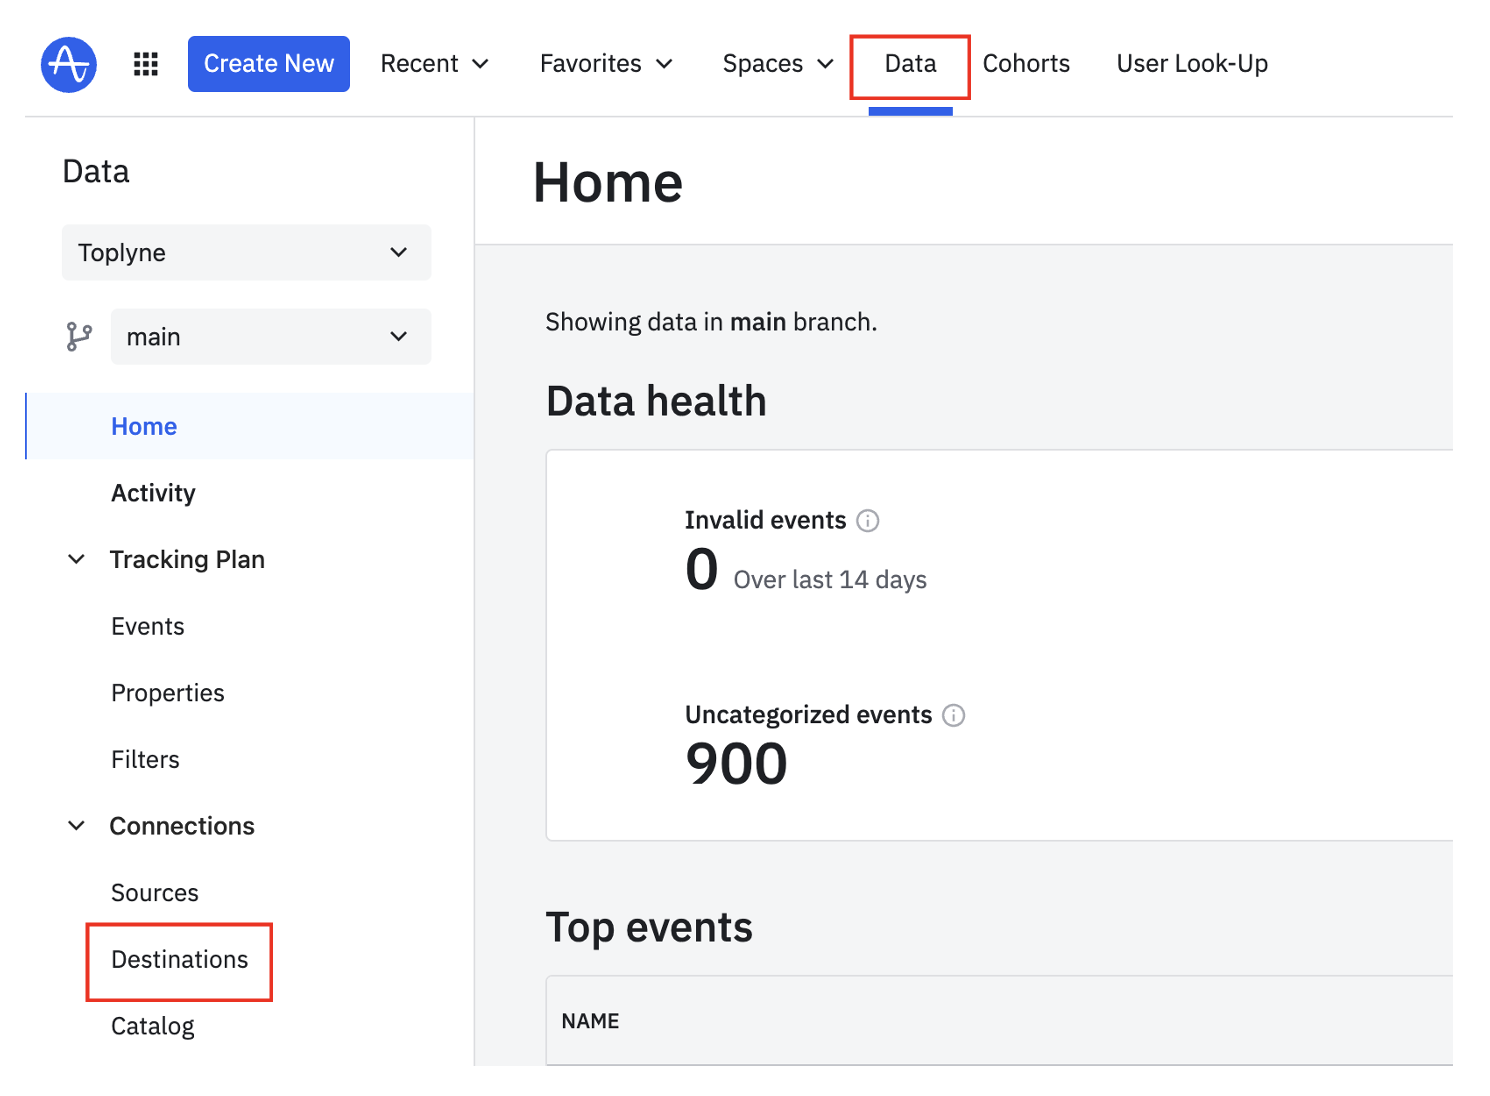
- Navigate to the Data tab, and click Destinations under Connections.
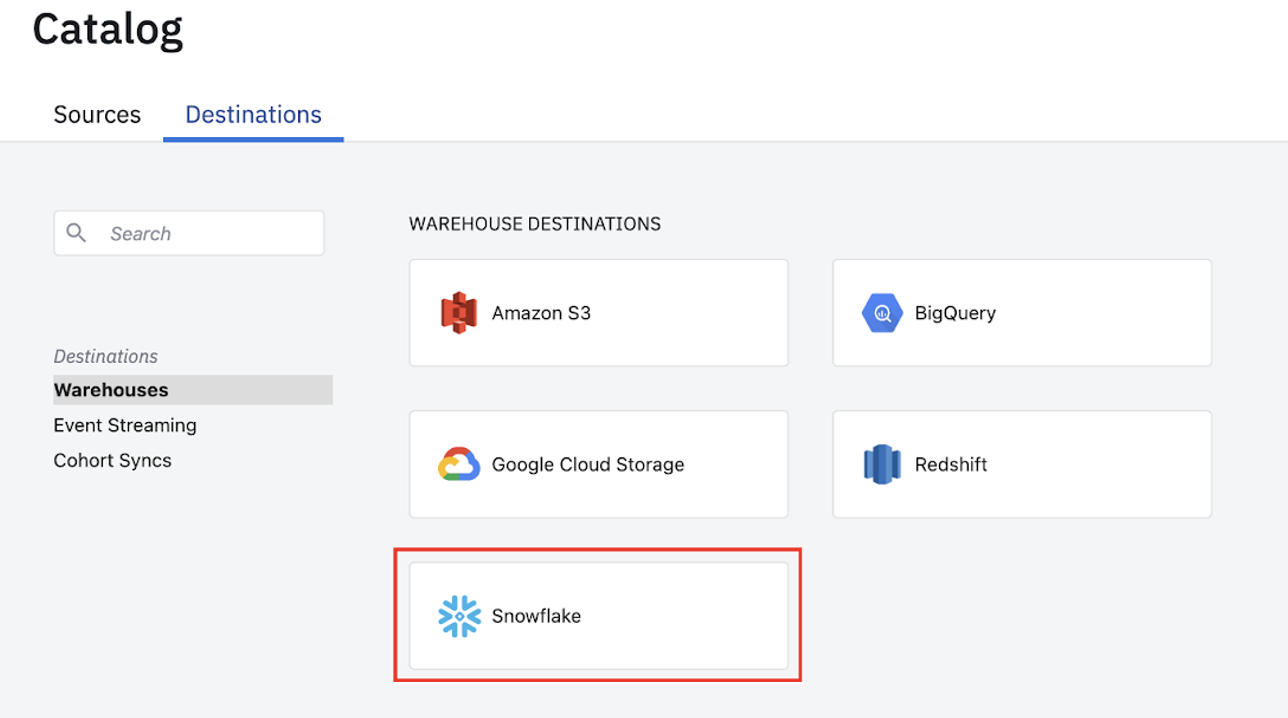
- Click + Add Destination.

- Select Snowflake from the list of destinations.
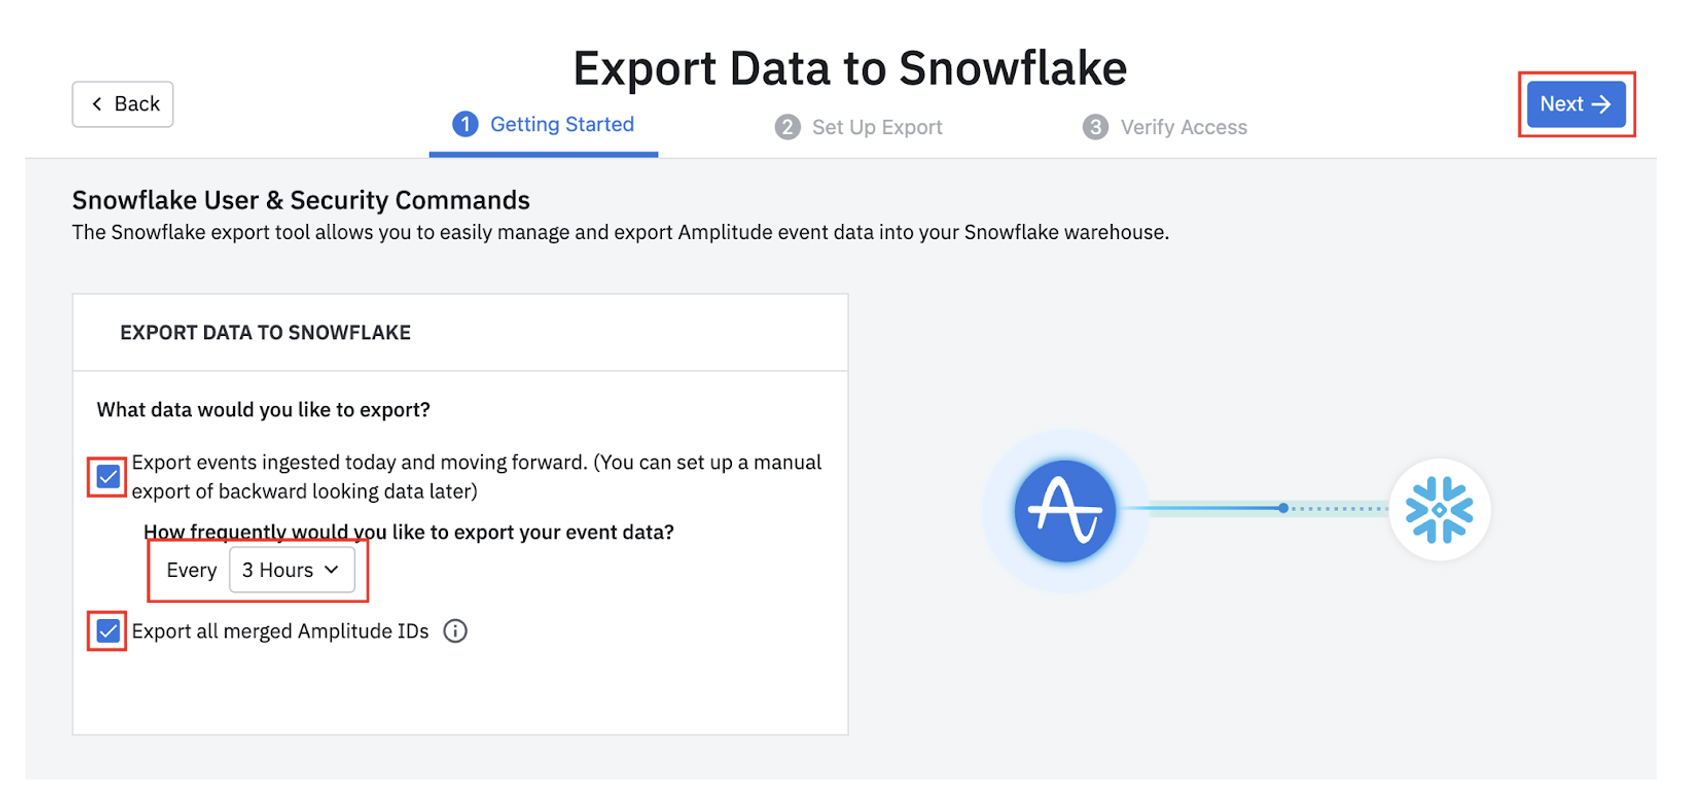
- In the first step (“Getting started”), check both boxes and set the export frequency to three hours. Then click Next.
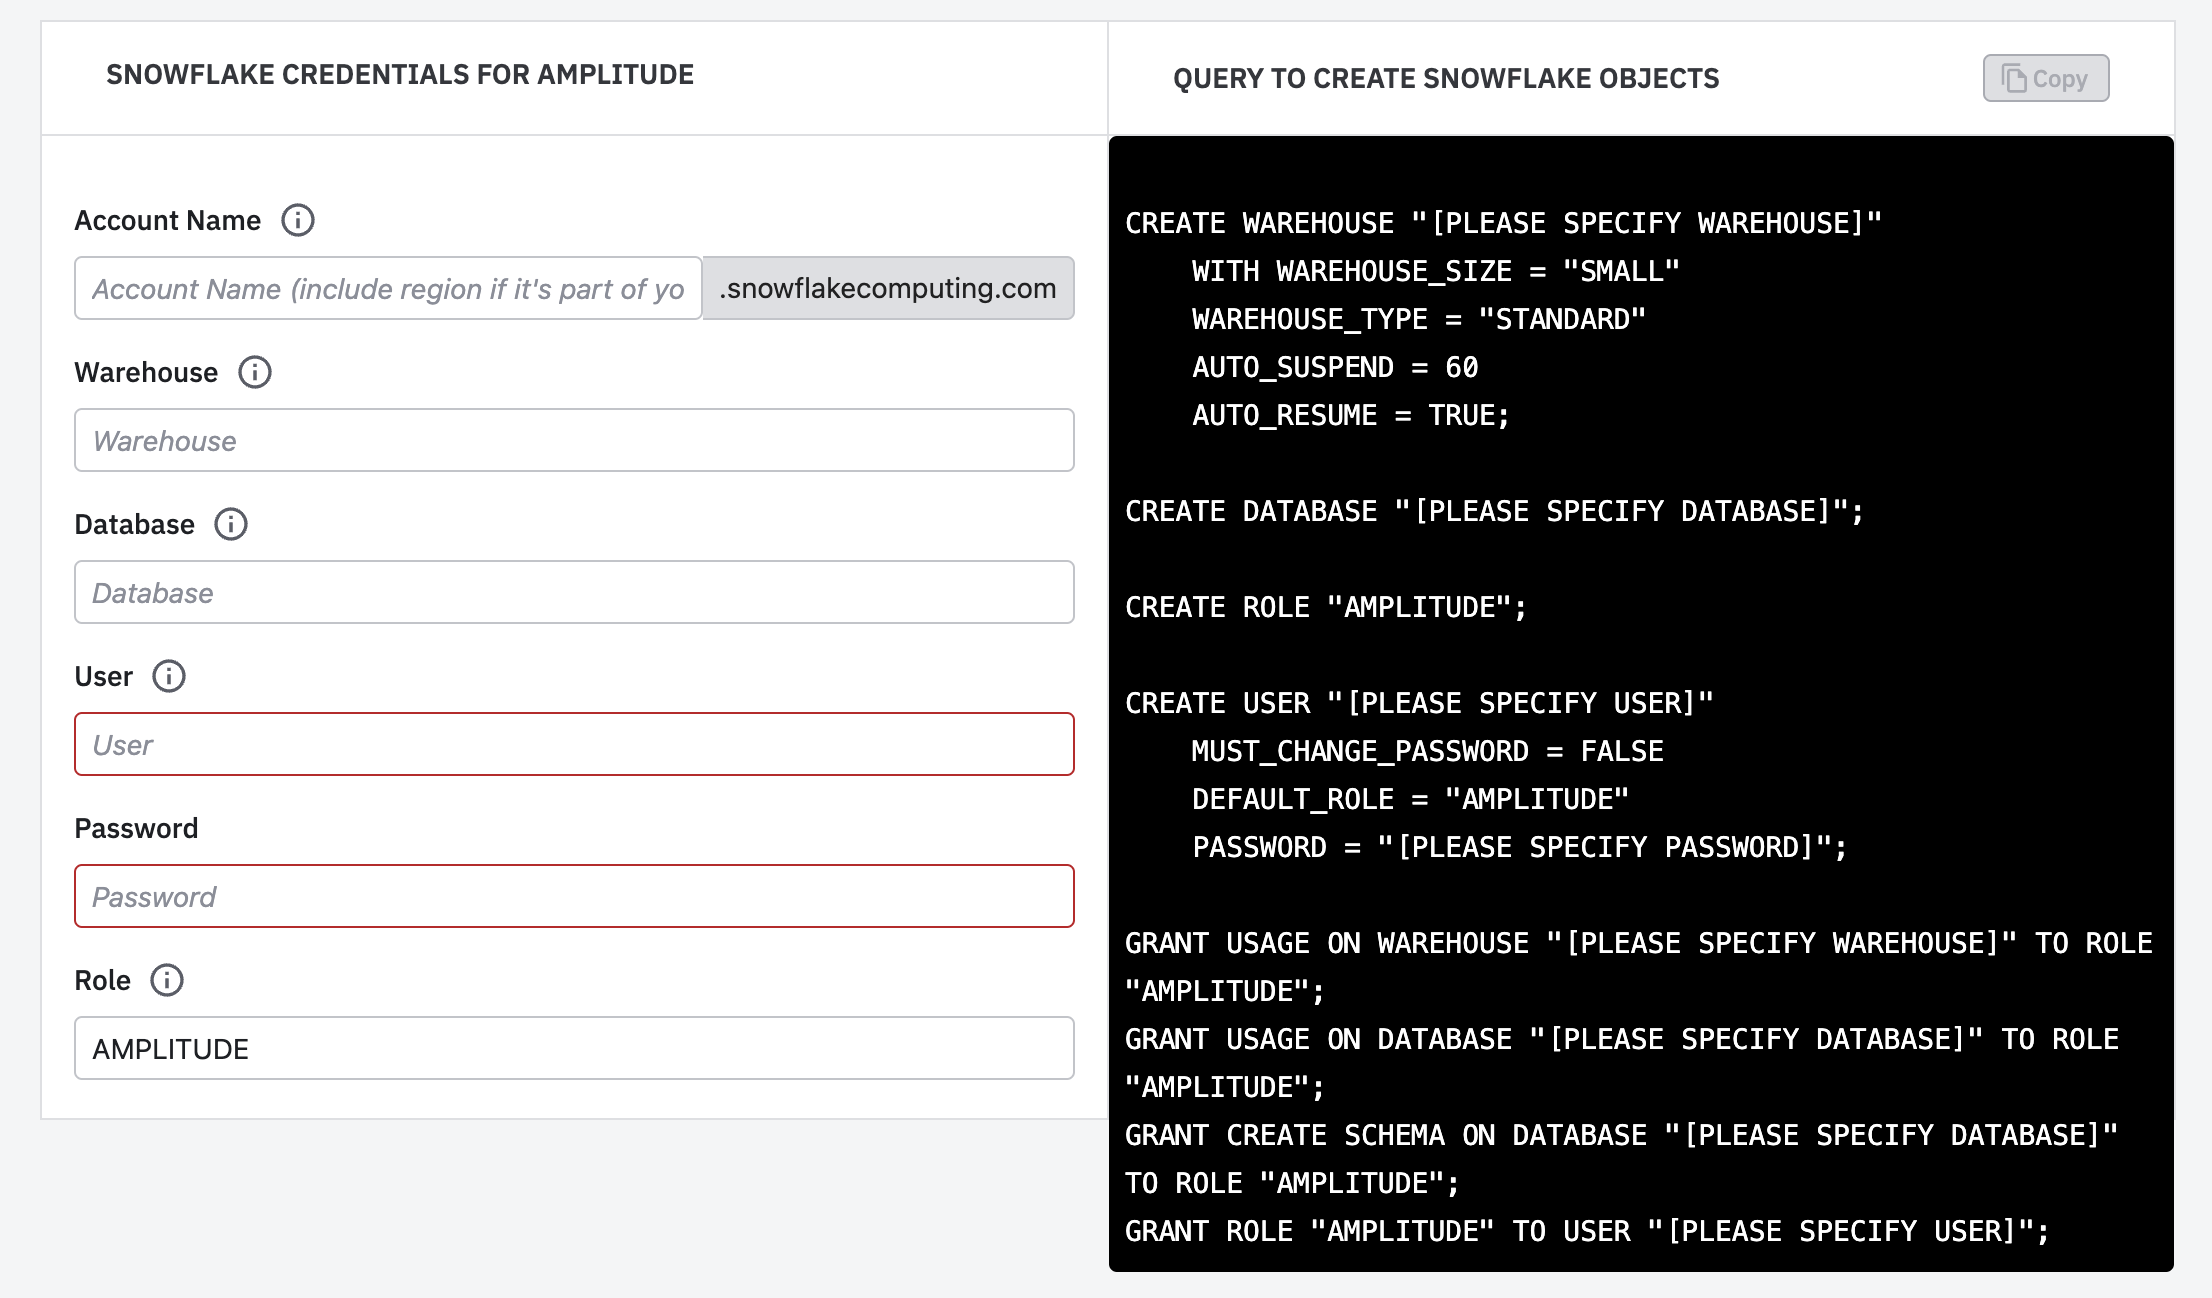
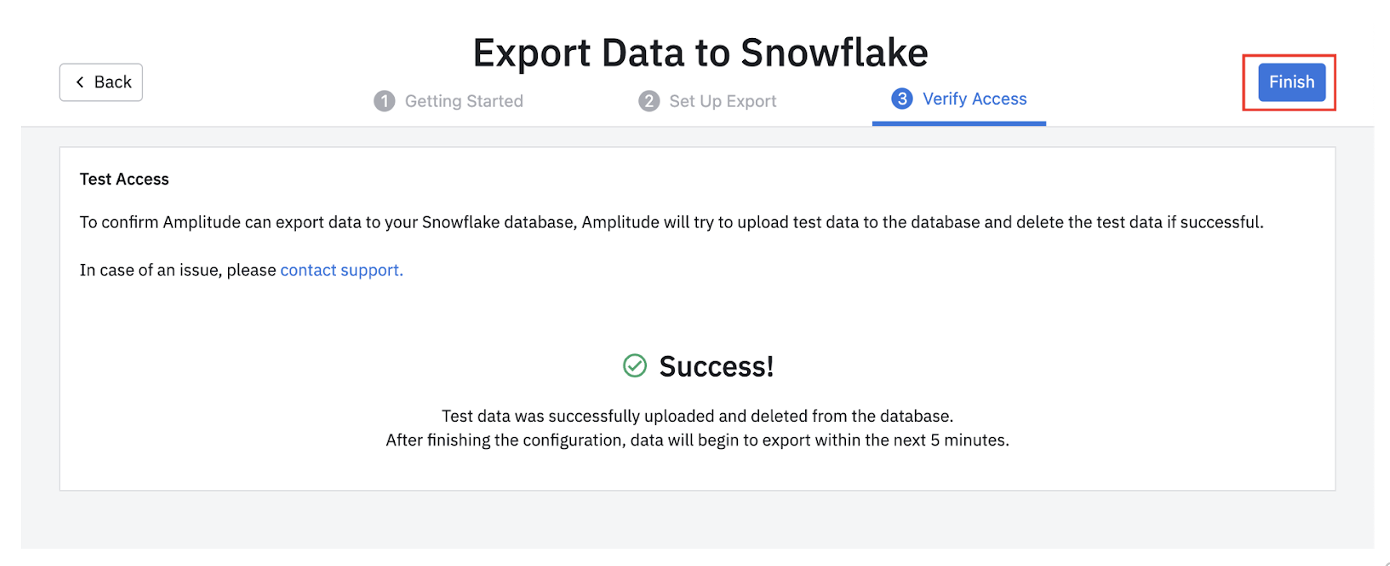
- In the second step (“Set Up Export”), enter the details shared by your Toplyne Customer Success Manager. Then click Next to proceed to the third step (“Verify Access”) on Amplitude.
- You should be able to see a confirmation of successful integration. You can now hit Finish.
Historical Sync
Two destinations added
There are some cases where two destinations would be created - one for Merged IDs and one for Raw Events. You would need to follow the historical sync steps for both the destinations.
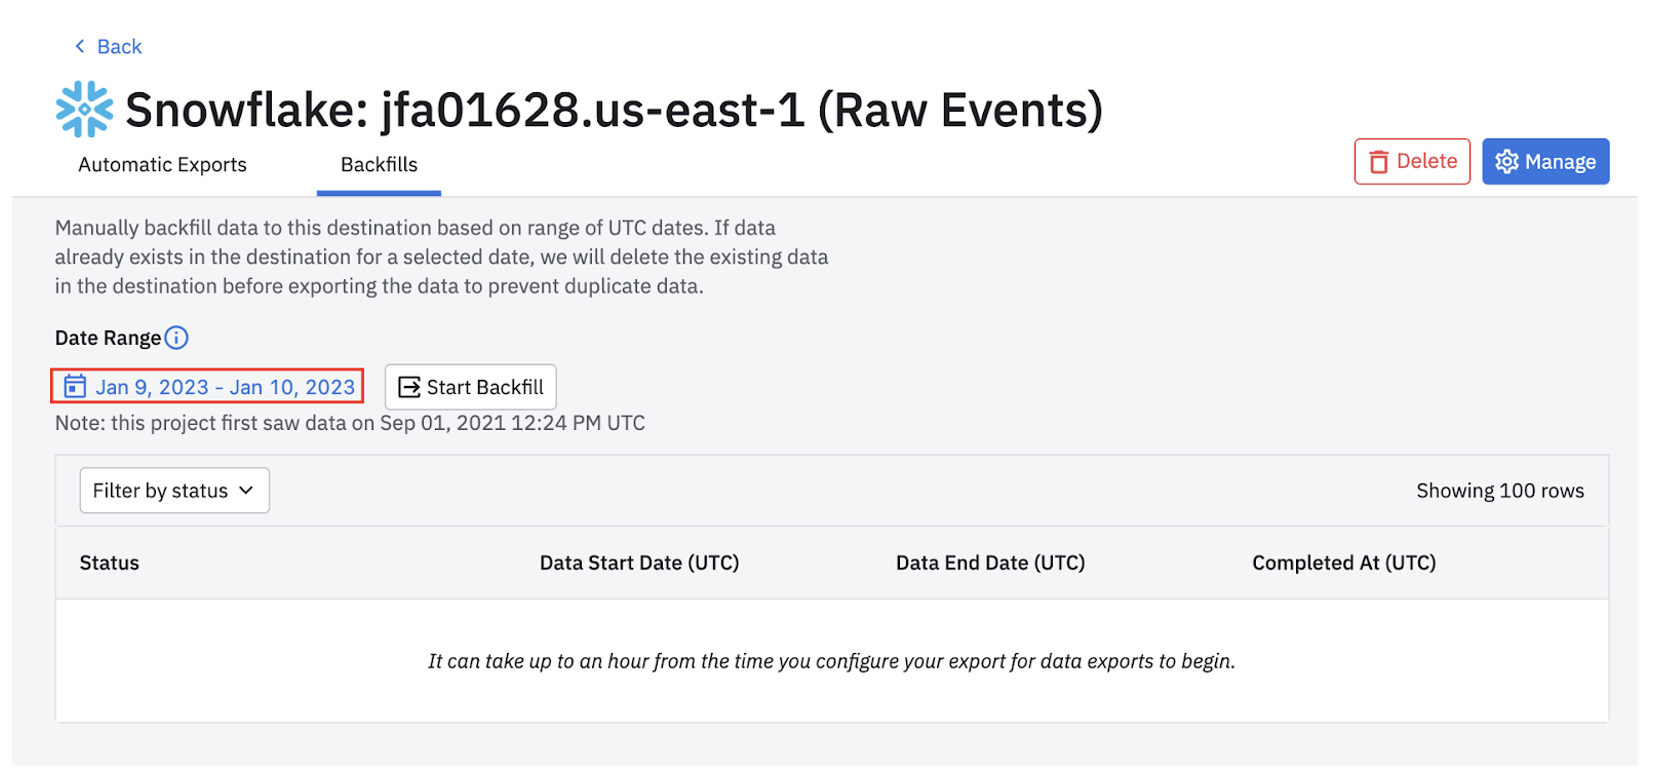
- Navigate to the Destinations tab again, and select the Snowflake integration you just created.

- Click on the Backfills tab.
- Click on the Date Range and choose the start date. We need about eight months of historical data to build our AI models. Hence, select a date eight months before the date of integration. Ensure that the end date is set to the current date (date of integration). Then click Apply.
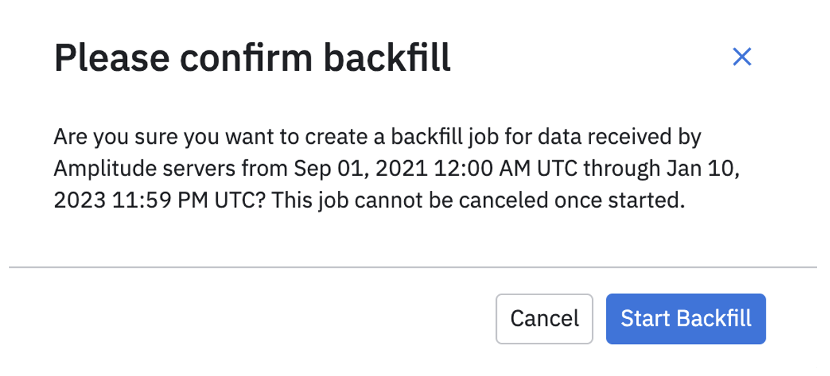
- Click on Start Backfill. You will be prompted to confirm. Click Start Backfill on the popup. And you’re done!
- Repeat the same exercise for other destination(s).
Updated 12 months ago