Customer.io (via S3)
Sharing data from Customer.io to Toplyne is a two-step process.
- Share data from Customer.io to Amazon S3
- Share data from Amazon S3 to Toplyne
Share data from Customer.io to Amazon S3
Before you begin, make sure that you’re prepared to ingest relevant parquet files from Customer.io. For S3, you’ll need to set up your bucket with ListBucketVersions, ListBucket, GetObject, and PutObject before you can sync data from Customer.io.
- Create an Access Key and a Service Key with read/write permissions to your S3 or Yandex bucket.
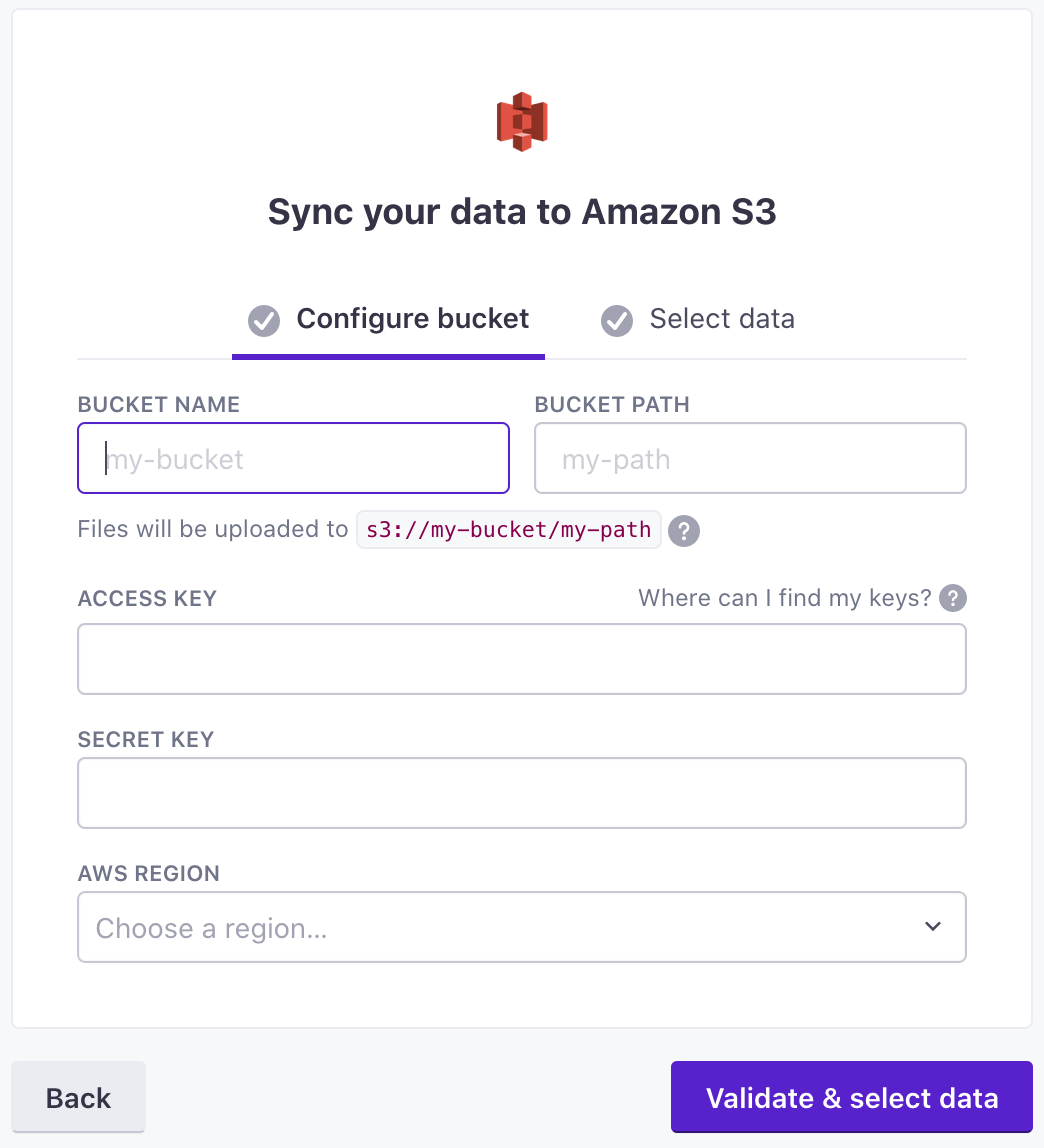
- Go to Integrations and select Amazon S3, and then click Sync Bucket.
- Enter information about your bucket and click Select data.
- Enter the Name of your bucket.
- Enter the path to your bucket.
- Paste your Access and Secret keys in the appropriate fields.
- Select the Region your bucket is in.
- Select the data types you want to export from Customer.io to your bucket. By default, we export all data types, but you can disable the types you aren’t interested in.
- Click Create and sync data.
Here's the IAM policy that you'd need to follow:
{
  "Version": "2012-10-17",
  "Statement": [
    {
      "Effect": "Allow",
      "Action": [
        "s3:PutObject",
        "s3:GetObject",
        "s3:ListBucket"
      ],
      "Resource": "arn:aws:s3:::{your-bucket-name}/*"
    }
  ]
}
Share data from Amazon S3 to Toplyne
Prerequisites
To connect your AWS S3 bucket to Toplyne, you need:
- An S3 bucket containing files with supported file types and encodings.
- For private or encrypted buckets, an AWS account with the ability to grant Toplyne permission and to read from the bucket.
To authorize Toplyne to connect to your S3 bucket, follow these instructions:
We recommend disabling Access Control Lists (ACLs) on each S3 bucket so that the bucket contents are controlled by the bucket's access control settings and not the original file owner's settings. For more information about disabling ACLs for your bucket, see AWS S3 documentation.
Create a bucket for Toplyne
- We recommend creating a bucket exclusively for toplyne data as it makes it very very easy for you to share data with us.
- Open your S3 console and navigate to the permissions tab.
<https://s3.console.aws.amazon.com/s3/buckets/><bucket_name>?tab=permissions
- We want you to grant toplyne read-only permissions to this bucket.
- Navigate to the Bucket policy and Edit it.
- Paste this JSON and update the bucket policy field -
your-bucket-namethere.
{
    "Version": "2012-10-17",
    "Statement": [
        {
            "Sid": "1",
            "Effect": "Allow",
            "Principal": {
                "AWS": "arn:aws:iam::388856629077:role/ToplyneServiceRoleForCustomerDataAccess"
            },
            "Action": [
                "s3:GetObject",
                "s3:GetObjectVersion",
                "s3:ListBucket",
                "s3:GetBucketLocation"
            ],
            "Resource": [
                "arn:aws:s3:::{your-bucket-name}",
                "arn:aws:s3:::{your-bucket-name}/*"
            ]
        }
    ]
}
Share your S3 bucket name with the Toplyne team.
Updated 12 months ago