Send in blue
Through a simple integration, you will be able to use Toplyne segmentation to better target email campaigns on Send in blue to convert promising leads, motivate your champions to purchase more, and re-engage with users at risk of churning. Follow our step-by-step integration guide to get started!
Setting up Send in blue as a destination 🔩
-
Step - 1: Select ‘Integrations’ from the left pane.
-
Step - 2: Search for ‘sendinblue’ and select it from the list of destinations.
-
Step - 3: Name your integration and click on ‘Configure’.
-
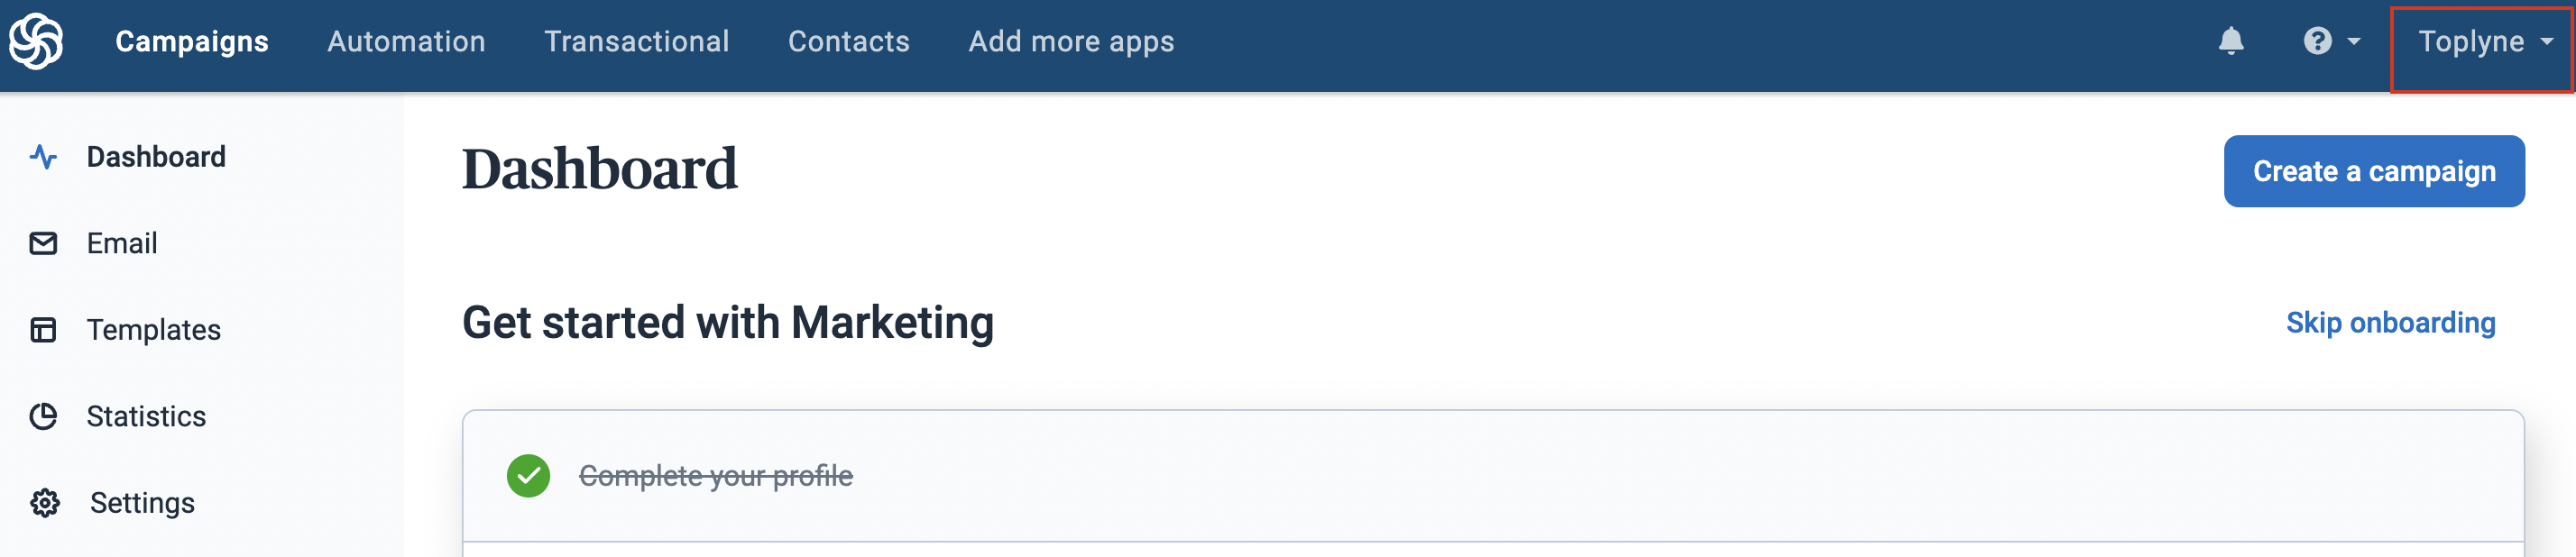
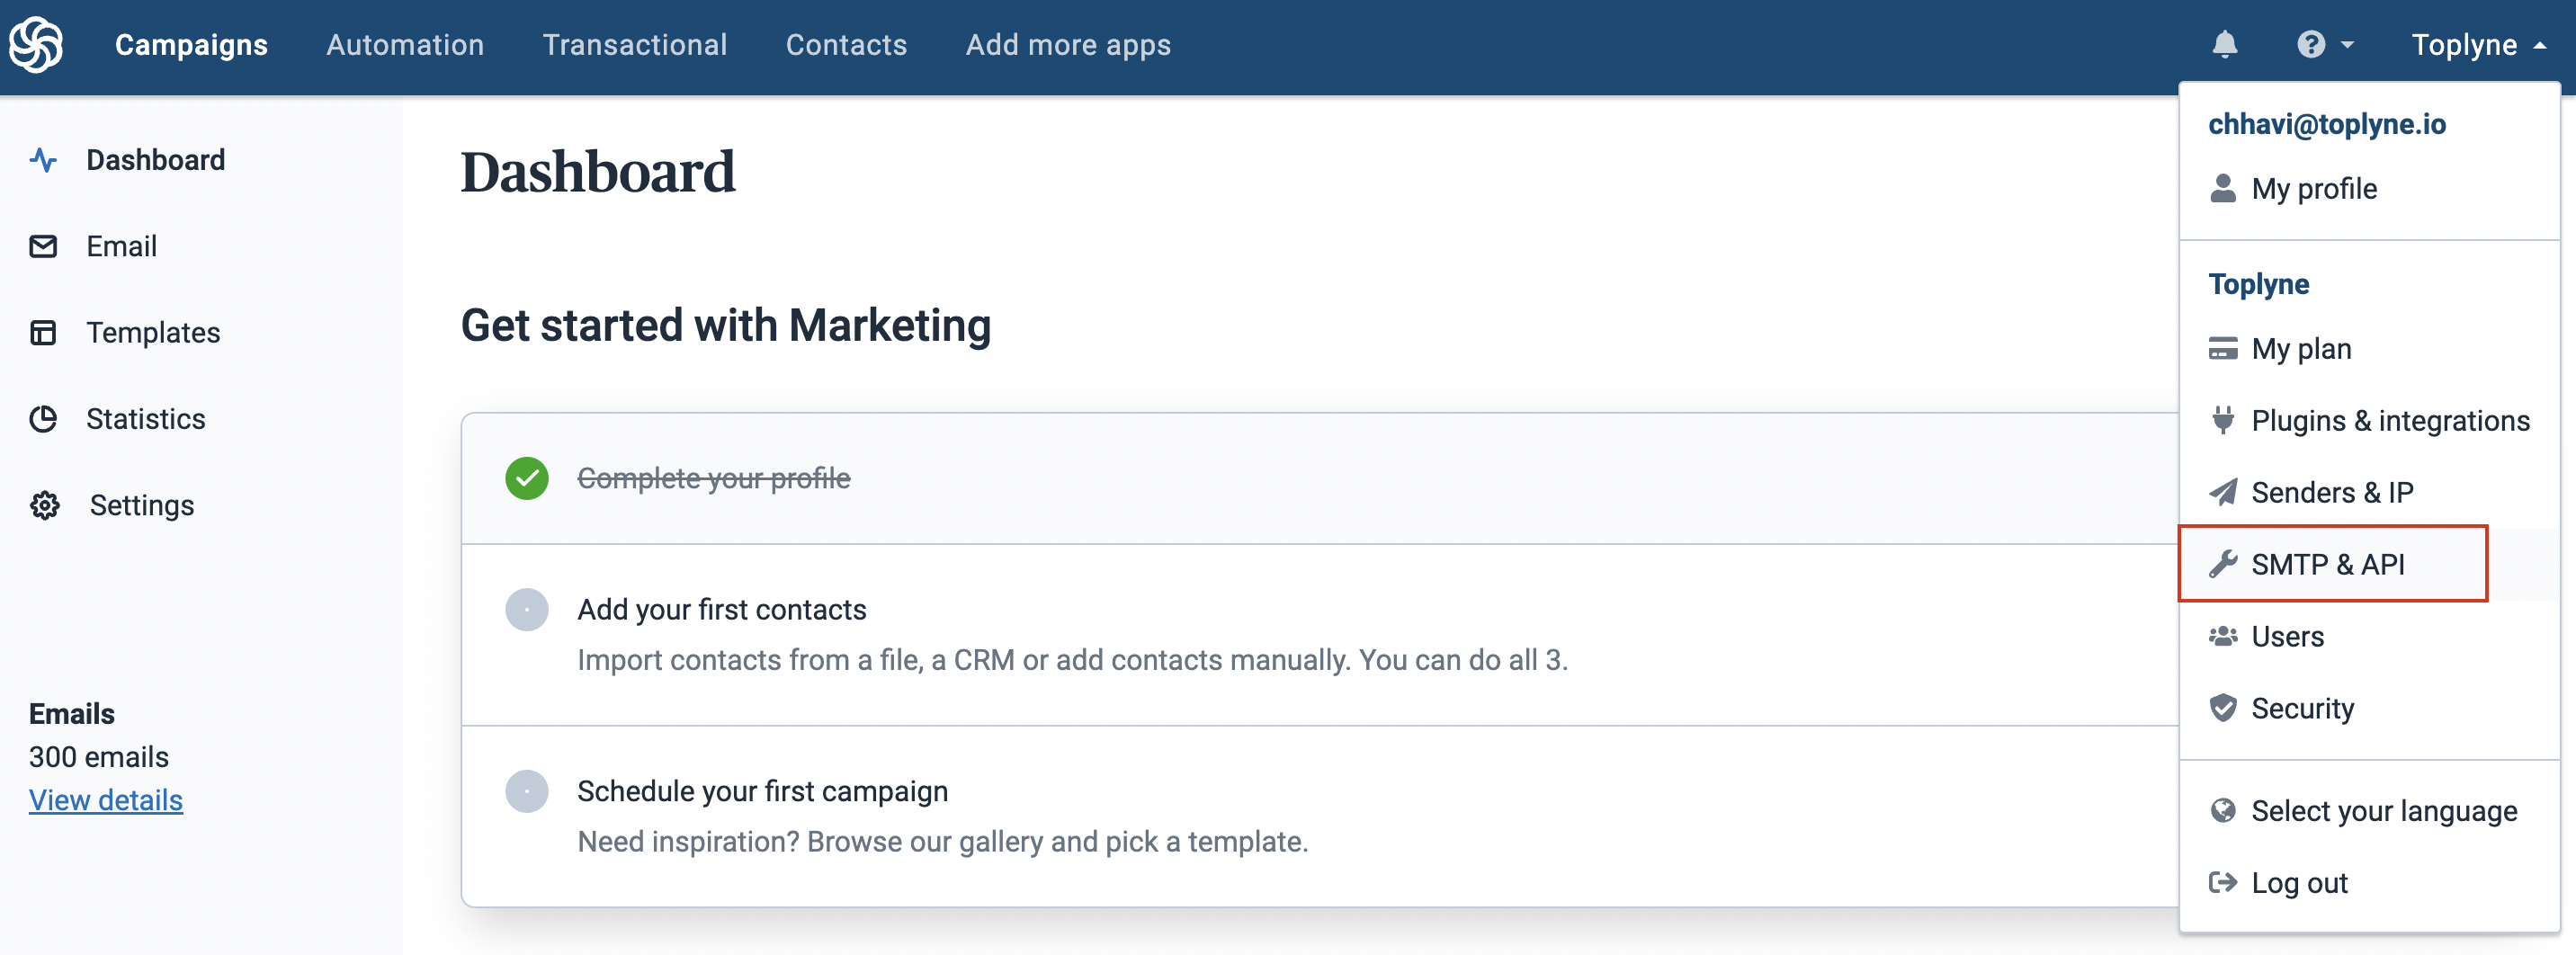
Step - 4: Filling additional information from your Send In Blue dashboard
-
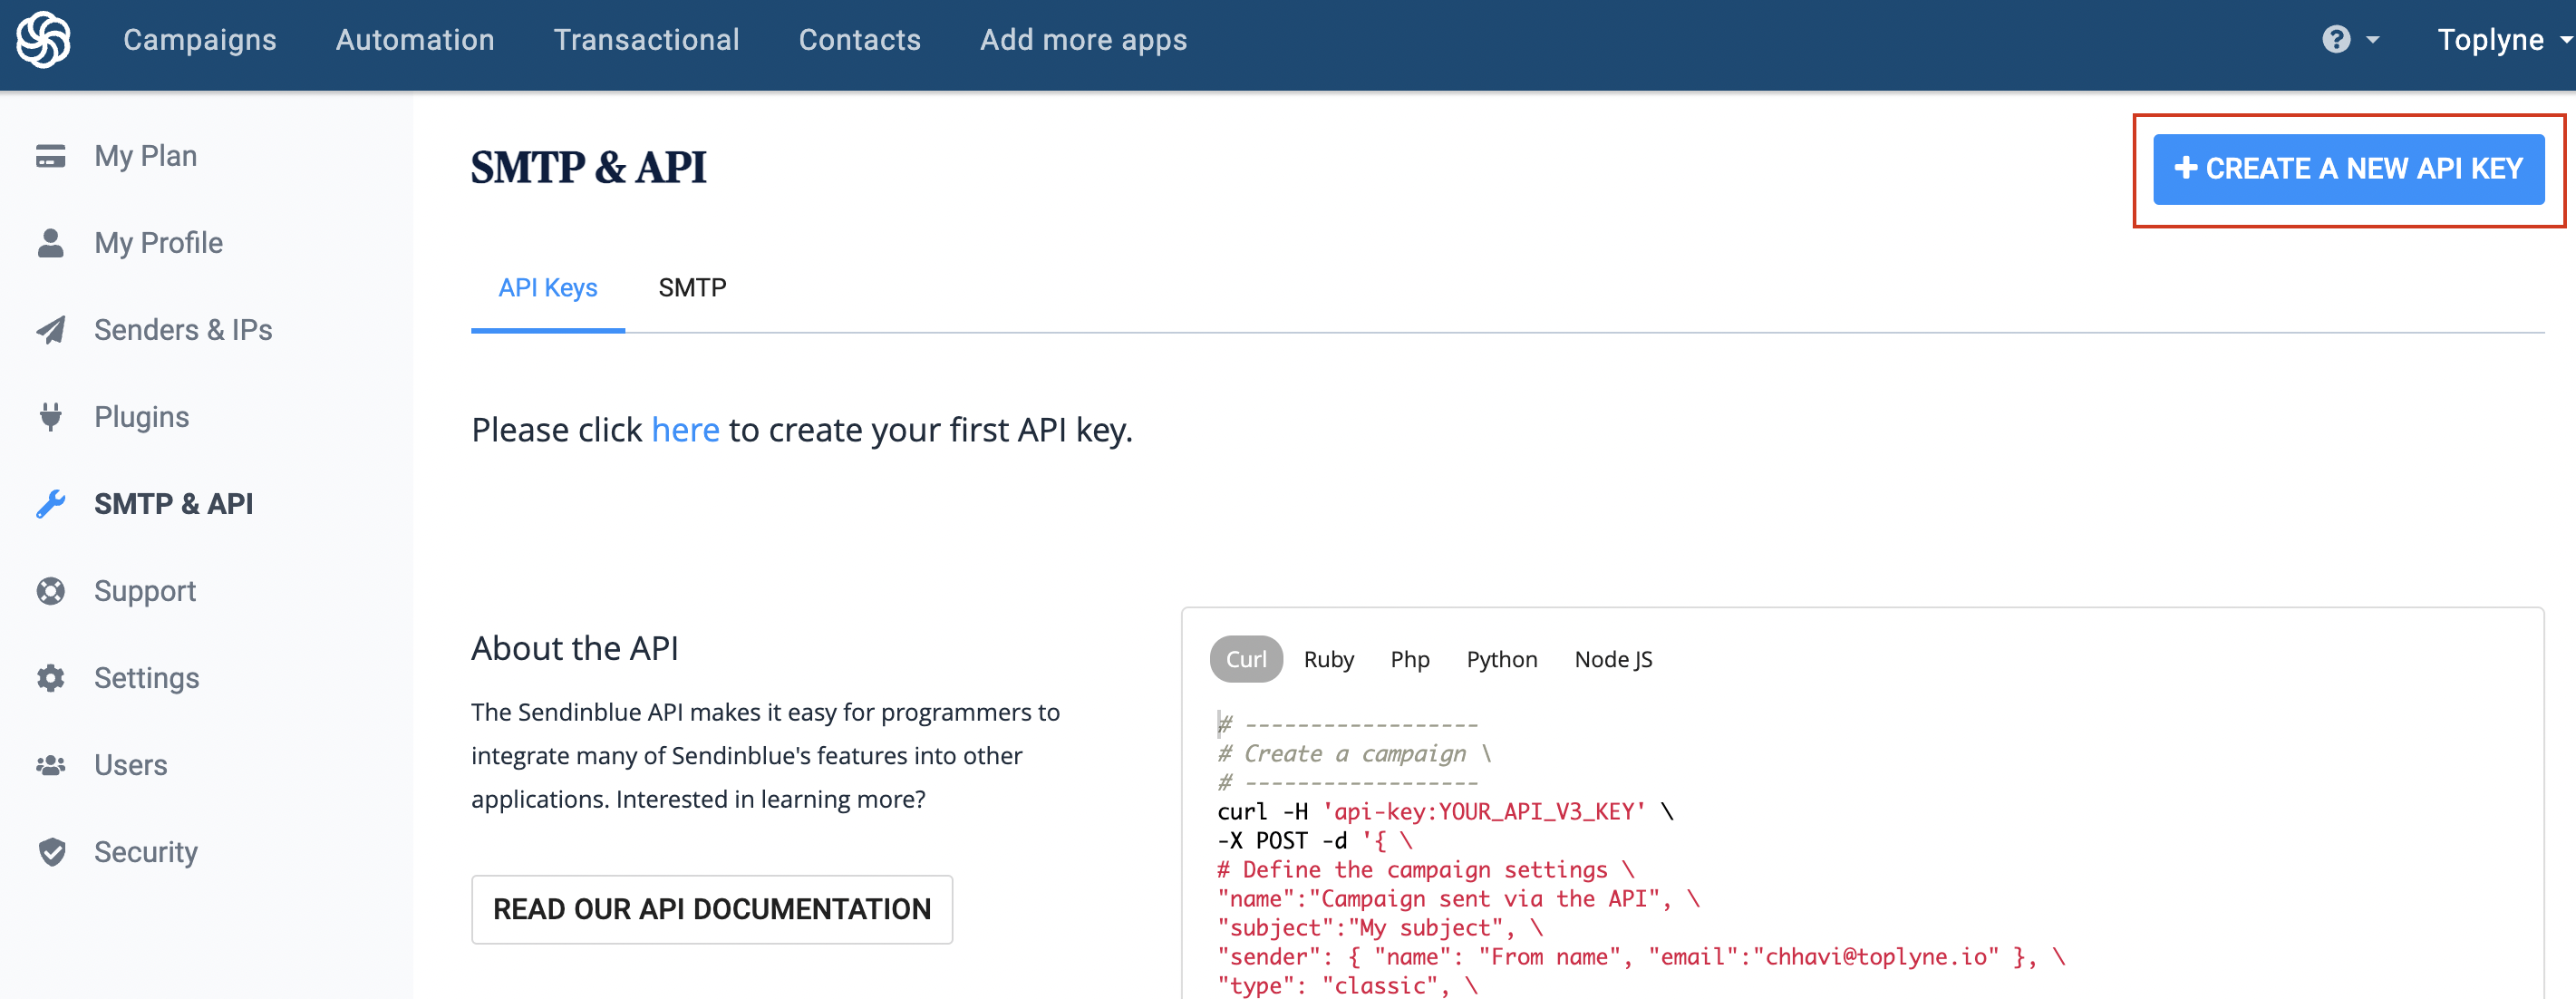
Step - 4.3: Name your API integration
-
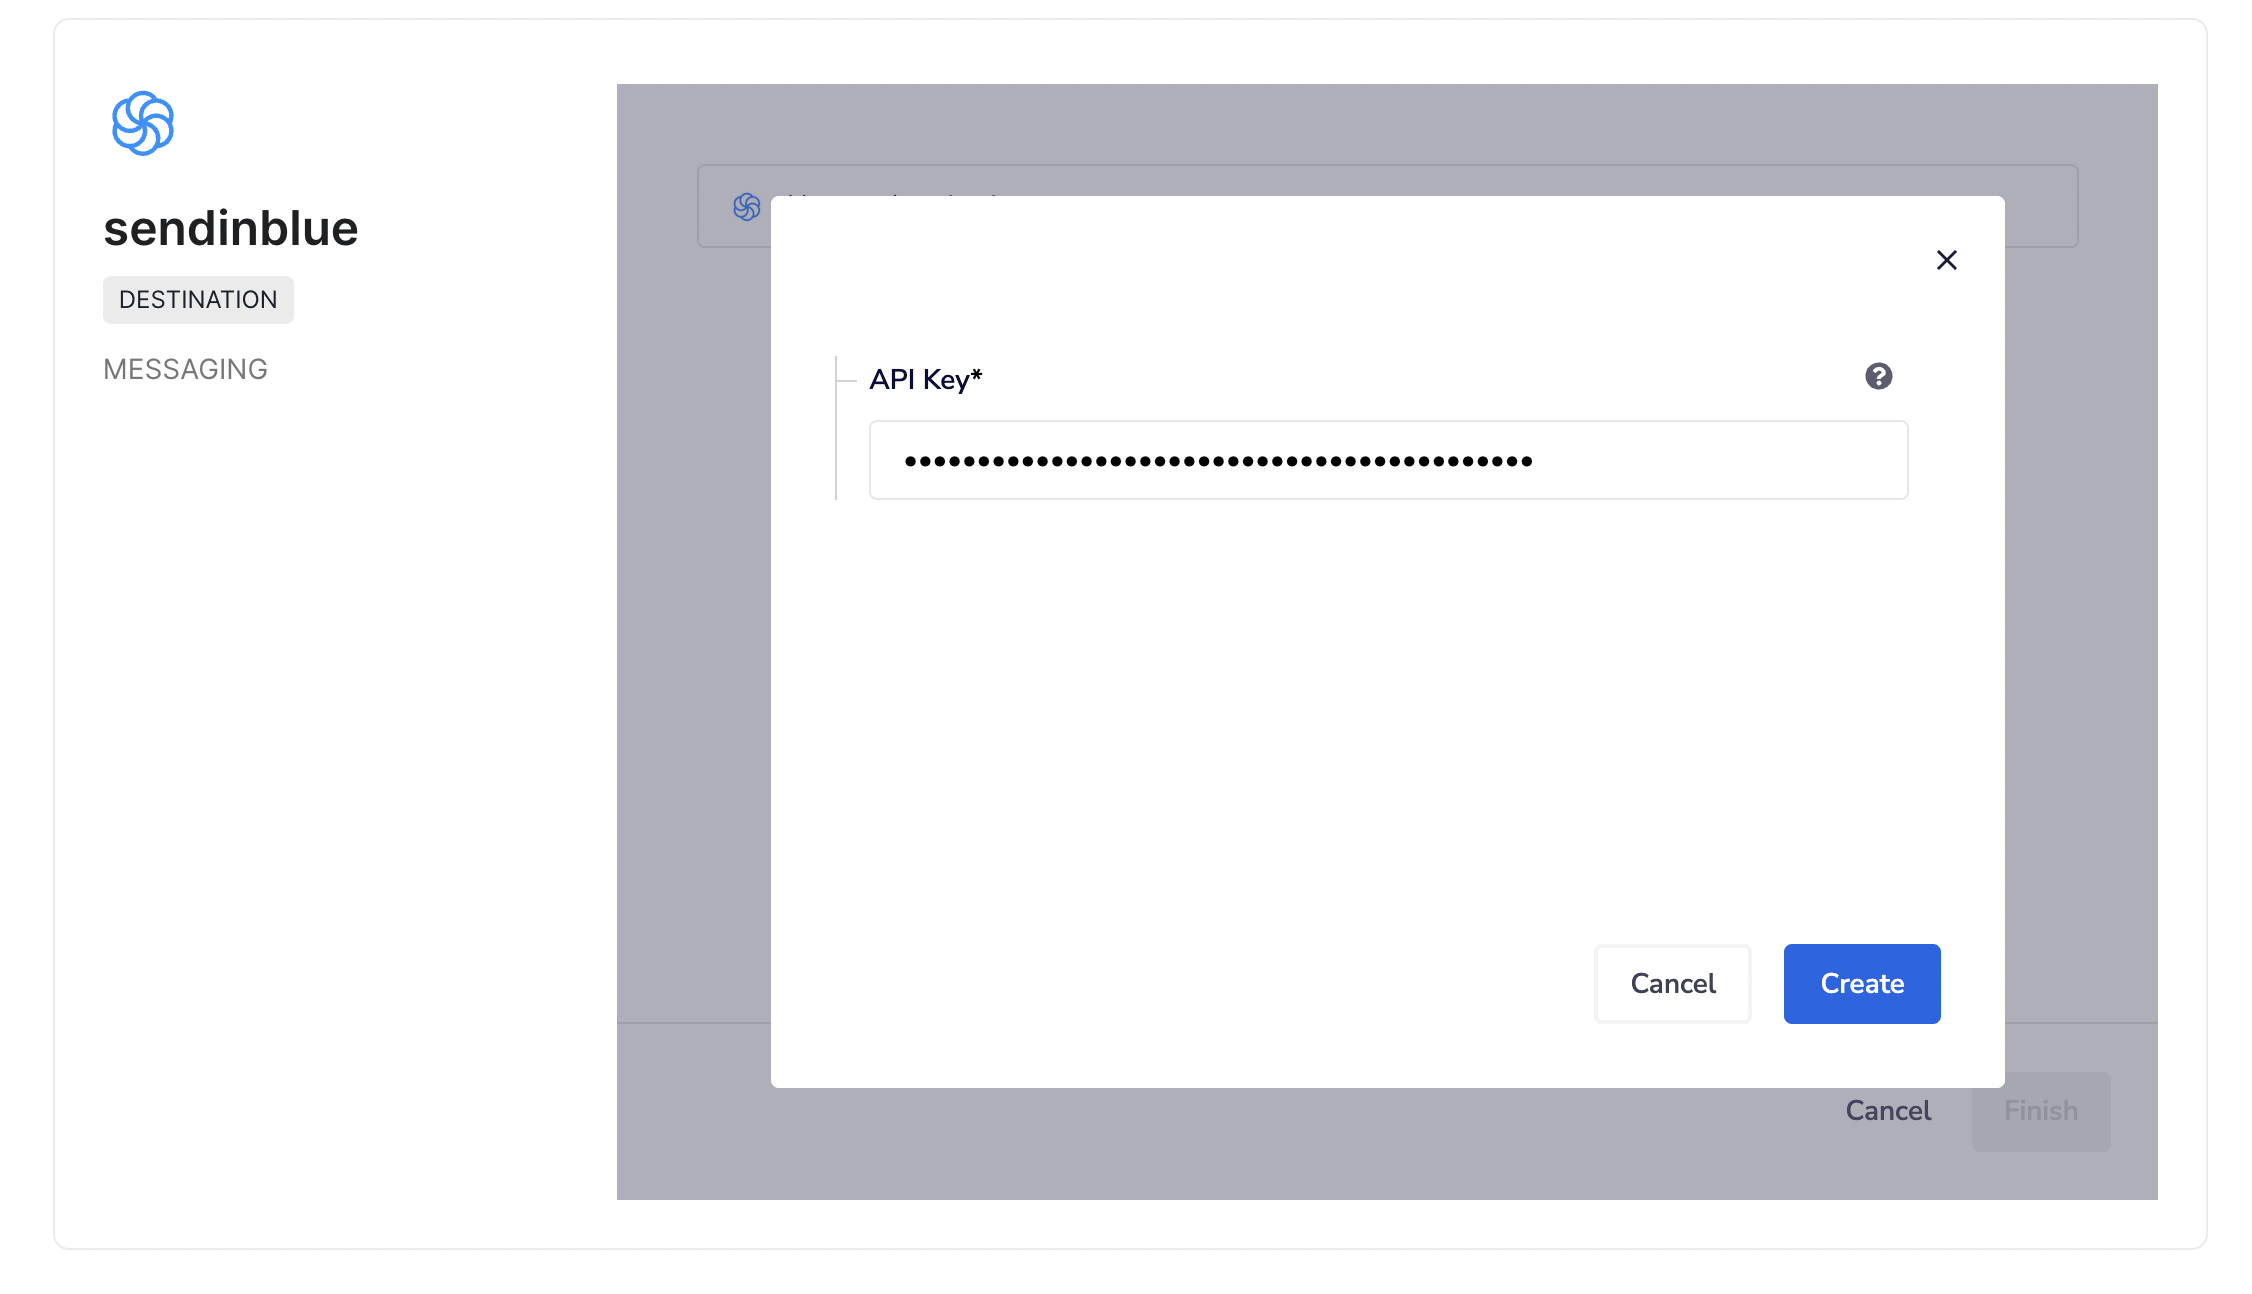
Step - 4.4: Copy your API key, paste it on Toplyne dashboard & click "Create"
Using Send in blue as a destination 🔀
Step - 1: Select the destination you just created on the export page.
When you’re on the Export stage of a playbook, select Send in blue integration you set up
Step - 2: Select whether you want to sync these leads to a particular "Contact list" or just sync in contacts
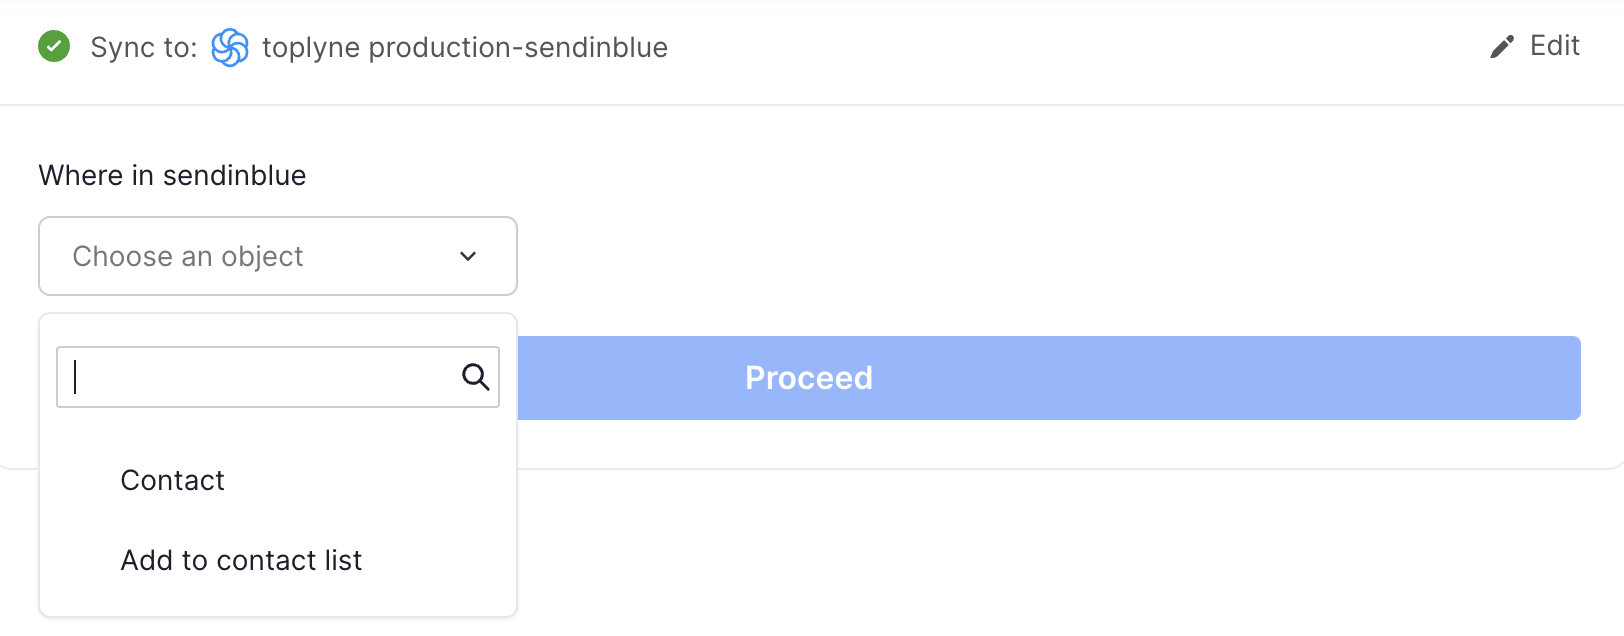
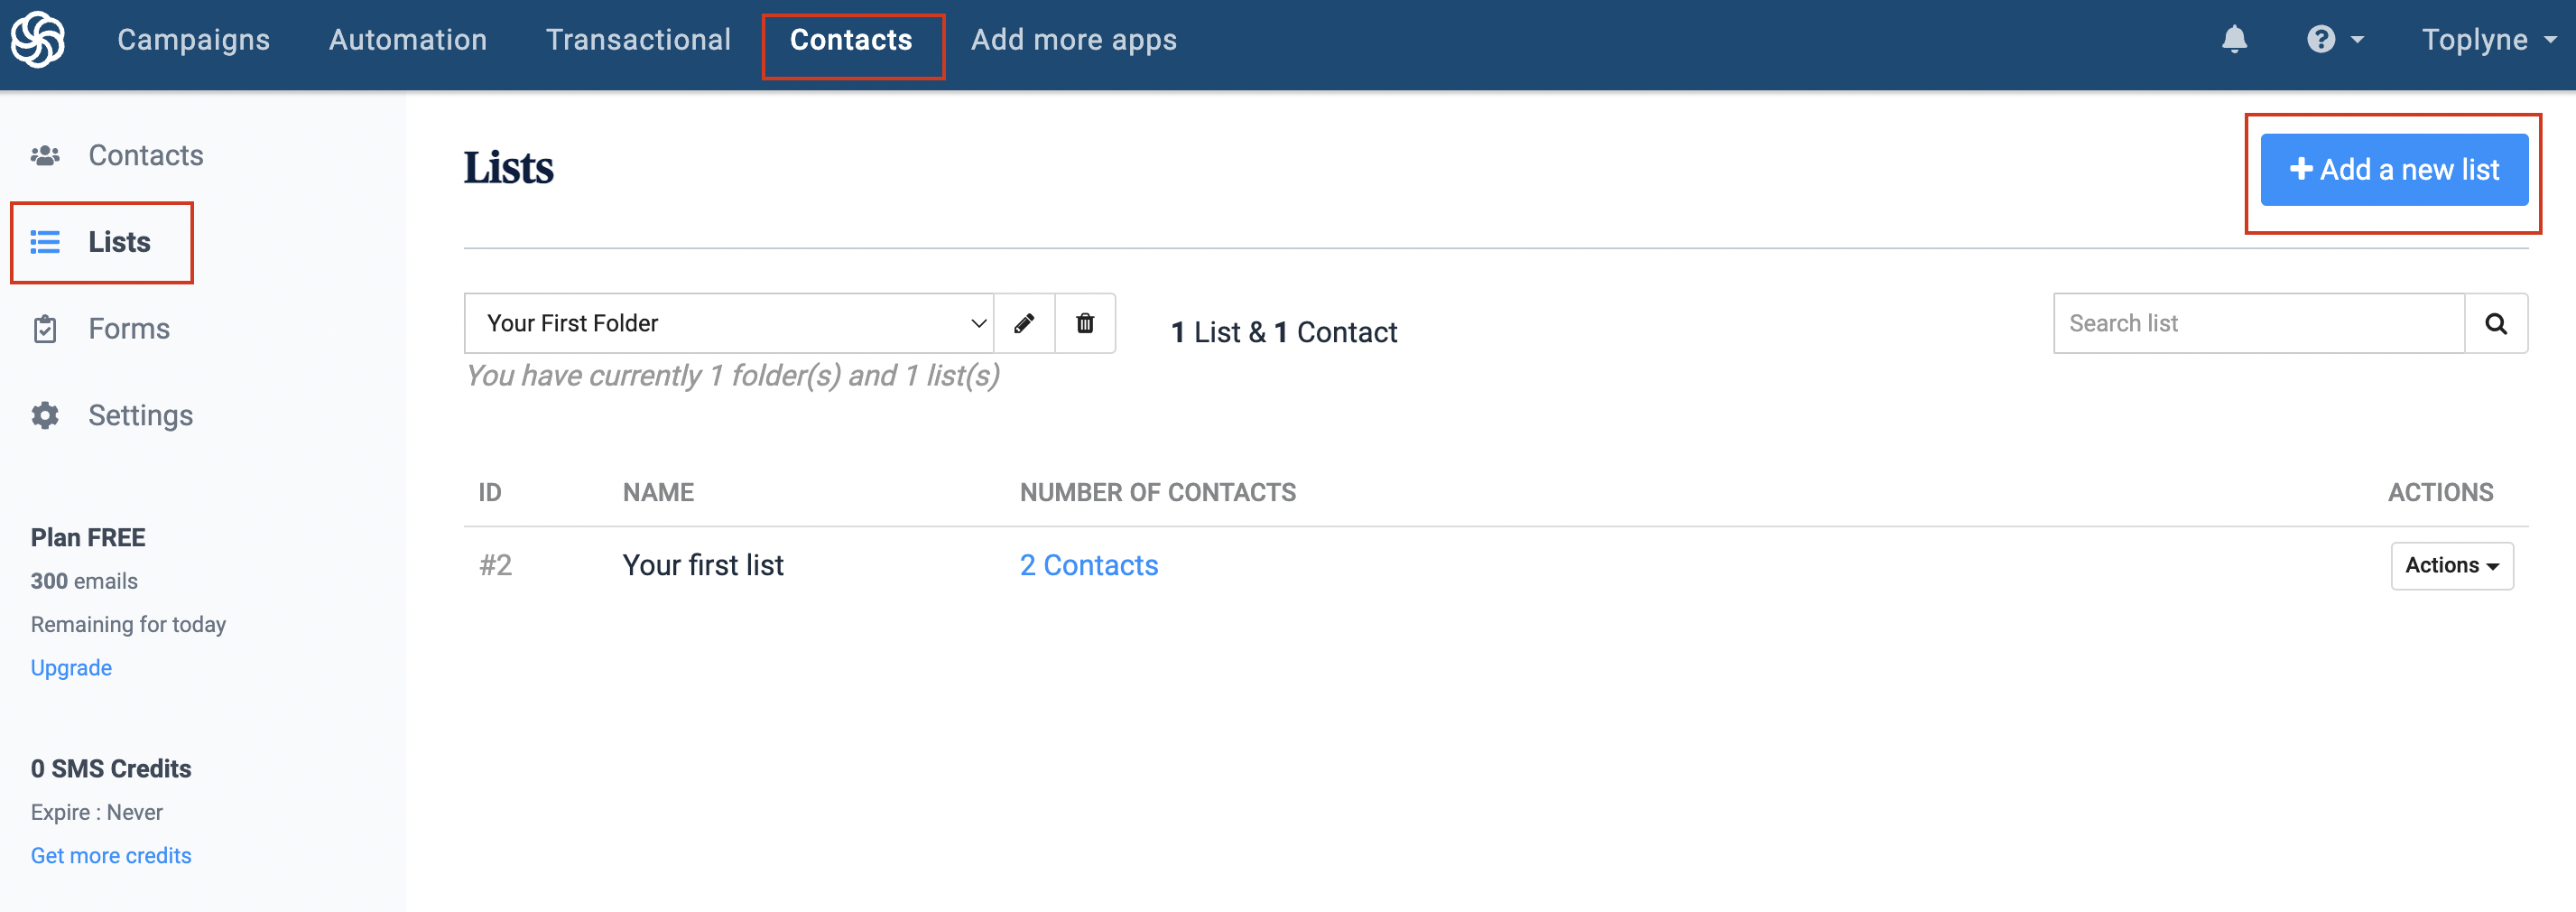
If adding to a particular contact lis, select name of the contact group from drop down. To create a contact lis in Send In Blue, go to "Contacts" tab, then select the "Lists" sub tab and click on "Add a new list" as shown below
Step - 3: Map the identifier field
Email is a mandatory identified for Send In Blue integration. Select the field from Toplyne that contains email address of your leads
Step - 4: Select the fields you wish to sync to Send In Blue
You can also choose which other information to pass to Send In Blue. You can do this by selecting relevant field in Toplyne. You can also choose to how to name this field in Send In Blue. Generally, our customers export the Toplyne Conversion Score and the Toplyne Lead Status.
Updated 8 months ago